Tutorial 280 
Obrigada VaZsu por autorizar a tradução  Material Aqui Plugins Filters Unlimited Simple AP Lines / Silverlining VM Natural 1. Abra o "Watercolor Background" Plugins / Filters Unlimited / Simple / Half Wrap 2. Effects / Plugins / Filters Unlimited / Simple / Blintz 3. Layers / Duplicate. Permaneça na layer do topo
Image / Flip
Baixe a opacidade para 50% 4. Effects / Image effects / Offset: 225 / 0 / Custom e Transparent marcados 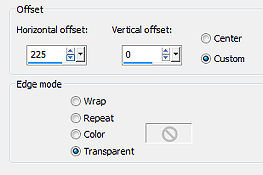
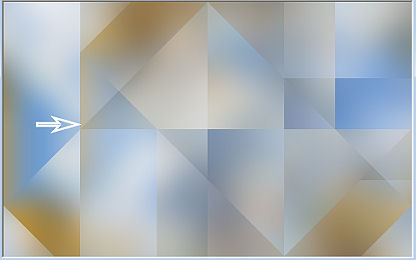
A imagem estará assim
Layers / Merge visible 5. Effects / Edge effects / Enhance 6. Abra a "Vazsu Selection 1", selecione com a varinha mágica as faixas brancas Selections / Load/save selection / Save selection to Alpha Channel Na janela que abrir, clique em Save Minimize a seleção no Psp e volte à imagem principal 7. Selections / Load/save selection / Load selection from Alpha Channel Aplique a seleção Selections / Promote selection to layer 8. Effects / Plugins / Ap Lines / Silverlining / Dotty Grid 5 / - 1 / 255 / 0 / 0 / 0 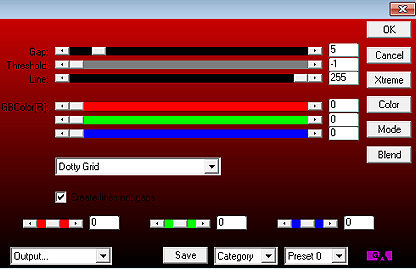
Effects / 3D effects / Drop Shadow: 0 / 0 / 40 / 30,00 - preto Selections / Select none 9. Abra a "Vazsu Selection 2", clique com a varinha mágica nas 2 faixas brancas para selecioná-las Selections / Load/save selection / Save selection to Alpha Channel Na janela que abrir, clique novamente em Save Minimize a seleção no Psp e volte à imagem principal Deixe ativa a layer de fundo 10. Selections / Load/save selection / Load selection from Alpha Channel Aplique a seleção 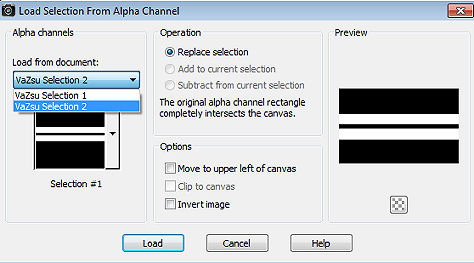
Selections / Promote selection to layer 11. Effects / Plugins / AP Lines - Silverlining / Horizontal 10 / -1 / 0 / 255 / 255 / 255 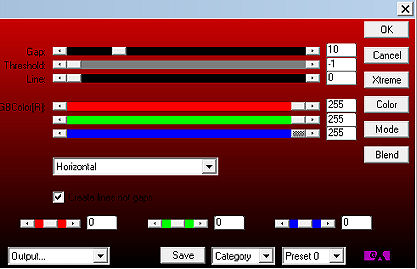
Selections / Select none Sua layer palette estará assim: 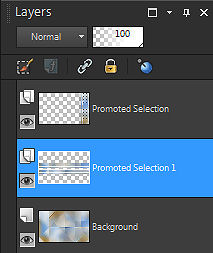
13. Effects / Filters Unlimited / Natural / Speed: 104 / 85 / 28 / 0 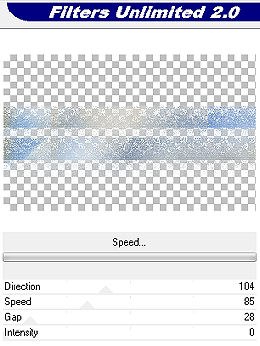
14. Abra a "Line Decor" - Edit / copy Ative a layer do topo Edit / paste as new layer na imagem Effects / Image effects / Offset: 120 / 234 / Custom e Transparent marcados 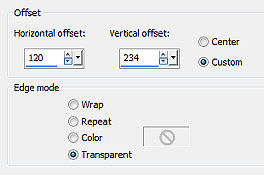
14a. Ative a ferramenta Selection / Custom selection Top 40 / Left 684 / Right 724 / Bottom 80 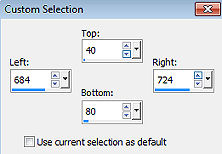
Layers / new raster layer e pinte de branco Selections / Modify / Contract 7 Layers / new raster layer e pinte de preto Selections / Modify / Contract 8 e pinte de branco Selections / select none Com a layer do topo ativa aplique Effects / Plugin / Eye Candy 5 Impact / Glass na seguinte configuração 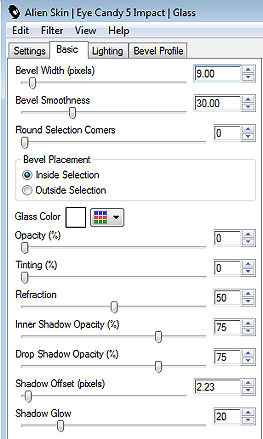
Layers / merge down 15. Layers / duplicate Effects / Image effects / Offset: 55 / -55 / Custom e Transparent marcados 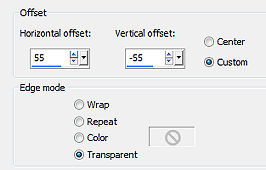
Layers / duplicate Aplique o mesmo Offset Teremos isso: 
16. Abra o "Vazsu Buttons 1" - Edit / copy Edit / paste as new layer na imagem Effects / Image effects / Offset: 480 / 0 / Custom e Transparent marcados 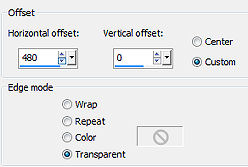
17. Abra o "Vazsu Buttons 2" - Edit / copy Edit / paste as new layer na imagem Effects / Image effects / Offset: 480 / 250 / Custom e Transparent marcados 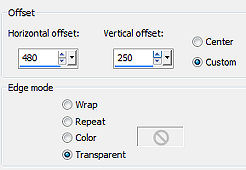
Layers / duplicate Image / Flip 18. Abra a "Vazsu Decor Frame" - Edit / copy Edit / paste as new layer na imagem Effects / Image effects / Offset: -300 / -15 / Custom e Transparent marcados 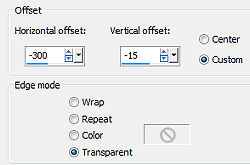
Effects / 3D Drop shadow: 0 / 0 / 70 / 30,00 - preto 19. Abra o tube "SmArt_410" - Edit / copy Edit / paste as new layer na imagem Image / Resize 63%, resize all layers desmarcado Effects / Image effects / Offset: -312 / 44 / Custom e Transparent marcados 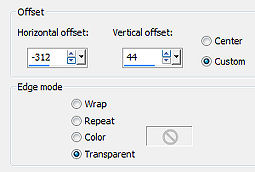
Aplique o mesmo drop shadow 20. Abra o tube "Fall Landscape" - Edit / copy Edit / paste as new layer na imagem Effects / Image effects / Offset: -20 / -60 / Custom e Transparent marcados 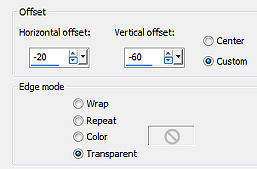
21. Abra o "Subtitle" - Edit / copy Edit / paste as new layer na imagem Effects / Image effects / Offset: 190 / -288 / Custom e Transparent marcados 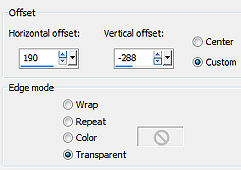
22. Image / Add borders / 1 px na cor preta Edit / copy 23. Abra a "Base Image" Selections / select all Selections / Modify / Contract 45 px 24. Edit / paste into selection Selections / Select none 25. Assine e Salve como Jpeg. https://vazsupsptutorials.weebly.com/vazsu-tutorial-280.html |  |
|


