| Tutorial 273 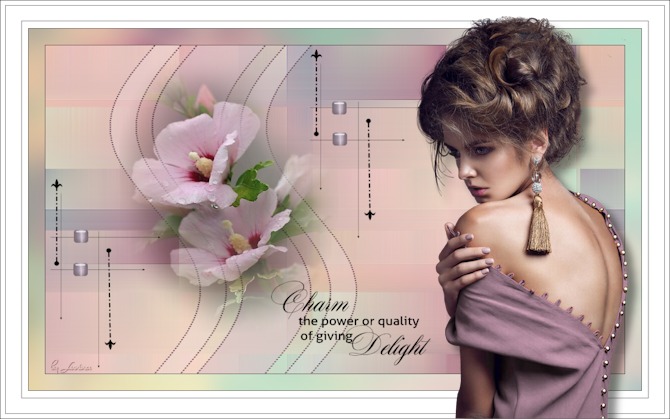
Obrigada VaZsu por autorizar a tradução  Material Aqui Plugins: Mehdi Simple Toadies Unlimited 1. Abra o "Watercolor Background" Adjust / Blur / Gaussian blur / radius 20 2. Effects / Plugins / Mehdi / Sorting Tile:
BLock Range 300-500 / Block 500 / Mosaic marcado 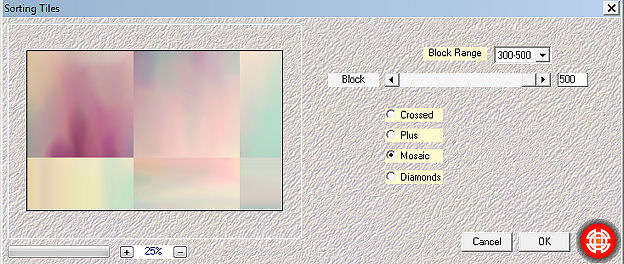
3. Effects / Plugins / Simple / Quick Tile 4. Effects / Edge Effects / Enhance More 5. Effects / Plugins / Filters Unlimited / Toadies / Weaver: 59 / 48 /222 
Minimize essa imagem no psp 6. Abra uma imagem de 1200 x 750 pixels e pinte com a cor #b07990 Ative a ferramenta Selection / Custom selection: Top 275 / Left 0 / Right 1200 / Bottom 20 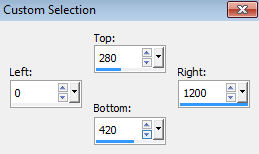
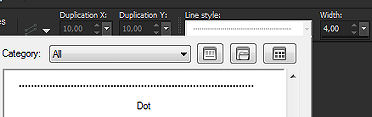
Selection / Promote selection to layer selections / select none Baixe a opacidade para 50% 7. Tire a visibilidade da layer de baixo (Raster 1) e mantenha ativa a layer de cima Coloque no foreground a cor #603749 Ative a ferramenta Pen Tool / Styled Line Dot / Width 4.00
Trace linhas nas bordas, como mostro 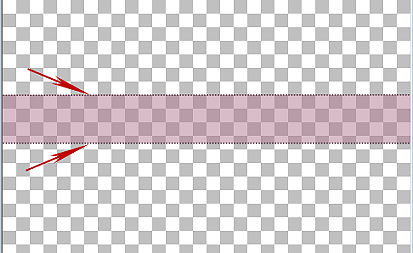
Na layer palette - Convert to raster layer Layers / merge visible Salve como "Wave" Edit / copy 8. Volte à imagem anterior Edit / paste as new layer Effects / Plugins / Filters Unlimited / Bkg Designer / Muru's Wave (Default) 
Ative a ferramenta Pick e encolha a linha curva até 750 px 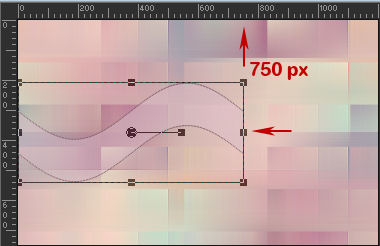
9. Image / Free Rotate / Left / 90, nada mais marcado 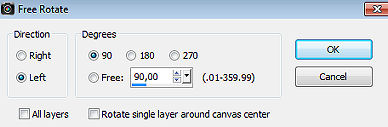
10. Effects / Image effects / Offset: 10 / 0 / Custom e Transparent marcados 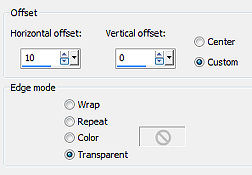
Minimize essa imagem principal 11. Volte à imagem "Wave" Ative a ferramenta Selection / Custom selection: Top 324 / Left 0 / Right 1200 / Bottom 376 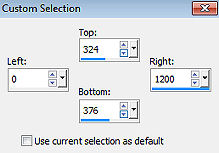
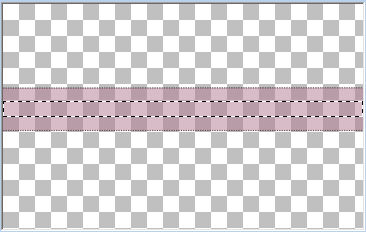
Selections / Promote selection to layer Selections / select none Tire a visibilidade da layer debaixo (Merged) e mantenha ativa a do topo 12. Ative a ferramenta Pen Tool / Styled Line Dot / Width 4.00 Trace linhas nas bordas, como mostro 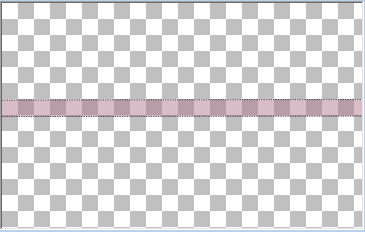
Na layer palette - Convert to raster layer Layers / merge visible Edit / copy 13. Volte à imagem anterior Edit / paste as new layer 14. Effects / Plugins / Filters Unlimited / Bkg Designer / Muru's Wave (Default), como antes Ative a ferramenta Pick e encolha a linha curva até 750 px, como da outra vez 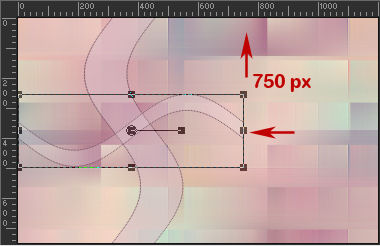
15. Image / Free Rotate / Left / 90, nada mais marcado
Effects / Image effects / Offset: -121 / 0 / Custom e Transparent marcados 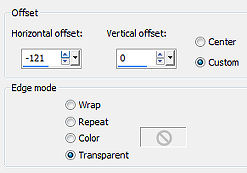
16. Layers / duplicate Effects / Image effects / Offset: 270 / 0 / Custom e Transparent marcados 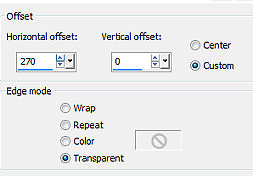
17. Abra o tube "Vazsu Decor" - Edit / copy Edit / paste as new layer na imagem Effects / Image effects / Offset: -220 / 0 / Custom e Transparent marcados 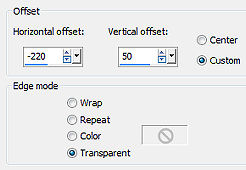
18. Abra o "Subtitle" - Edit / copy Edit / paste as new layer na imagem Effects / Image effects / Offset: 37 / -260 / Custom e Transparent marcados 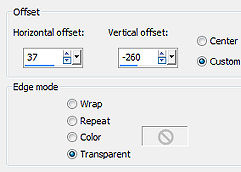
19. Ative a ferramenta Pen Tool / Styled Line Arrowhead end / Width 1.00 Coloque no foreground a cor preta 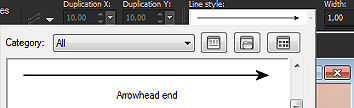
Trace linhas nas bordas, como mostro 
Mude agora o Styled Line para Ball-Fleur de Lis Dashed / Widht 2 
Trace 2 linhas assim: 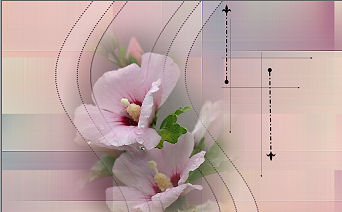
Na layer palette - Convert to raster layer Layers / merge down (vamos unir as 2 linhas) 20. Layers / duplicate Posicione abaixo à esquerda, como mostro: 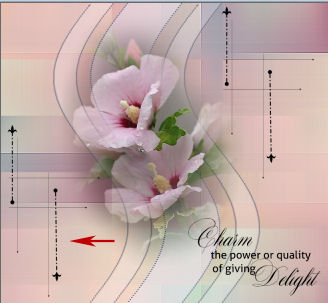
21. Abra o "Vazsu Buttom" - Edit / copy Edit / paste as new layer Image / Resize / 75%, resize all layers desmarcado Posicione nas linhas, como mostro: 
22. Image / add borders / 1 px na cor preta 23. Abra novamente o "Watercolor Background", aplique novamente o Adjust / Blur / Gaussian blur / radius 20 24. Image / add borders / 1 px na cor preta Edit / copy 25. Abra a "Base Image" - Selections / select all Selections / Modify / contract 50 26. Edit / paste into selection 27. Selection / Select All
Selection / Modify / Contract 80 28. Edit / copy na imagem principal Edit / paste into selection na imagem base Selections / select none 29. Abra o "Cady Tube" - apague a marca dágua Edit / copy Edit / paste as new layer na imagem Image / Resize / 90%, resize all layers desmarcado Posicione à direita como no modelo final Effect / 3D Drop Shadow: 15 / 15 / 45 / 20,00 - preto 30. Assine e Salve como Jpeg. https://vazsupsptutorials.weebly.com/vazsu-tutorial-273.html |  |
|


