Super Mamie 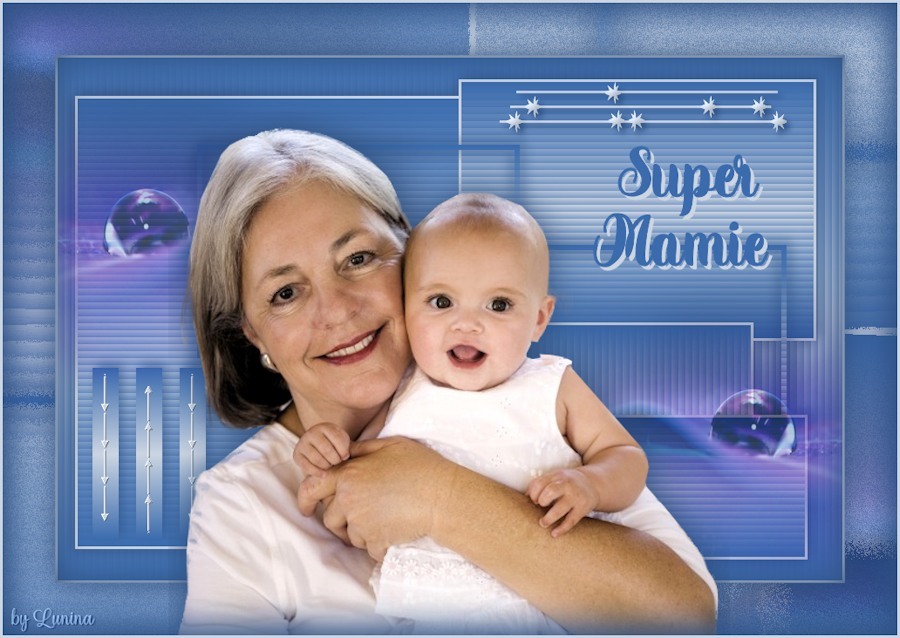
Obrigada Animabelle por autorizar a tradução  Material Aqui Este tutorial é uma criação pessoal de Animabelle Qualquer semelhança com outro é mera coincidência Plugins: Mura's Seamless / Emboss at Alpha
Italian Editors Effect / Disturbo Zoom
Alien Skin / Eye Candy 5 - Impact / Perspective Shadow (1 preset dans le matériel) IMPORTANTE Abra todas as imagens no PSP incluindo a(s) mask(s). Duplique tudo e feche os originais pois trabalharemos com as cópias Dê 2 cliques no preset para importá-lo automaticamente ao plugin correspondente Coloque a seleção na pasta "Selections" do PSP Cores usadas nesta versão 
Sinta-se à vontade para alterar suas cores e o blend mode da layer para se adequar a seus tubes e imagens, bem como a cor das sombras (drop shadow), se necessário Realização Etapa 1 Abra uma imagem transparente de 900 x 600 pixels Pinte com o gradiente Style Linear / Angle 0 / Repeats 1 / Invert desmarcado 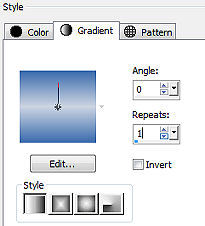 Adjust / Blur / Gaussian Blur em 15 Effects / Texture Effect / Blinds / 8 / 48 / Cor 1 / Horizontal: desmarcado 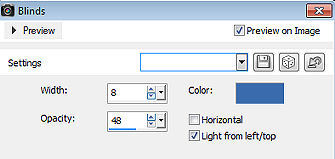
Etapa 2 Layers / New Raster Layer Ative a ferramenta Selection / Custom Selection: Top 44 / Left 20 / Right 522 / Bottom 564 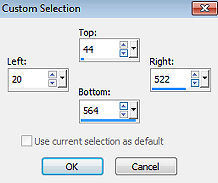 Pinte a seleção com a cor 2 Selections / Modify / Contract em 3 pixels Pinte com o gradiente inicial Adjust / Blur / Gaussian Blur / como acima Effects / Texture Effect / Blinds / 8 / 48 / Cor 1 / Horizontal e Light from left/top marcados 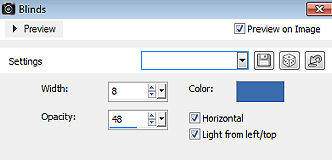
Selections / Select none Etapa 3 Layers / New Raster Layer Ative a ferramenta Selection / Custom Selection: Top 25 / Left 460 / Right 870 / Bottom 325 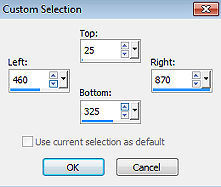
Pinte a seleção com a cor 2 Selections / Modify / Contract em 3 pixels Pinte com o gradiente inicial Adjust / Blur / Gaussian Blur / como antes Effects / Texture Effect / Blinds / 8 / 48 / Cor 1 / Horizontal: marcado como acima Selections / Select none Etapa 4 Layer / New Raster Layer Ative a ferramenta Selection / Custom Selection: Top 304 / Left 486 / Right 798 / Bottom 512 
Pinte a seleção com a cor 2 Selections / Modify / Contract em 3 pixels Pinte com o gradiente inicial Adjust / Blur / Gaussian Blur / como antes Effects / Texture Effect / Blinds / 8 / 48 / Cor 1 / Horizontal: desmarcado Selections / Select none Etapa 5 Layers / New Raster Layer Ative a ferramenta Selection / Custom Selection: Top 410 / Left 610 / Right 860 / Bottom 576 
Pinte a seleção com a cor 2 Selections / Modify / Contract em 3 pixels Pinte com o gradiente inicial Adjust / Blur / Gaussian Blur / como antes Effects / Texture Effect / Blinds / 8 / 48 / Cor 1 / Horizontal: marcado Selections / Select none Etapa 5 Layers / New Raster Layer Ative a ferramenta Selection / Custom Selection: Top 100 / Left 160 / Right 530 / Bottom 345 
Pinte com o gradiente inicial Effects / Texture Effect / Blinds / 8 / 48 / Cor 1 / Horizontal: marcado como acima Selections / Modify / Contract em 6 pixels Edit / Cut Selections / Select none Effects / 3D Effect / Drop Shadow: -5 / 5 / 60 / 20 / Escolha uma cor um pouco mais escuro que a cor 1 Repita com 5 / -5 Etapa 6 Layers / New Raster Layer Ative a ferramenta Selection / Custom Selection: Top 215 / Left 340 / Right 836 / Bottom 546  Pinte com o gradiente inicial Effects / Texture Effect / Blinds / 8 / 48 / Cor 1 / Horizontal: marcado como acima Selections / Modify / Contract em 6 pixels Edit / Cut Selections / Select none Effects / 3D Effect / Drop Shadow: -5 / 5 / 60 / 20 / Escolha uma cor um pouco mais escuro que a cor 1 Repita com 5 / -5 Etapa 7 Na paleta de layers, com o botão esquerdo do mouse, leve essa layer para baixo da raster 4 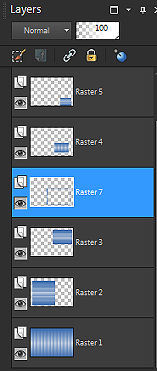 Ative a layer do topo Etapa 8 Layer / New Raster Layer Ative a ferramenta Selection / Custom Selection: Top 356 / Left 40 / Right 70 / Bottom 554 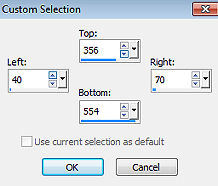 Pinte com o gradiente inicial Selections / Select none Effects / 3D Effect / Drop Shadow: -5 / 5 / 60 / 20 / Escolha uma cor um pouco mais escuro que a cor 1 Layers / Duplicate Effects / Image Effect / Offset: 50 / 0 / Custom e Transparent marcados Layers / Duplicate Effect / Image Effect / Offset - como acima Tire a visibilidade da layer de fundo - raster 1 Ainda com a layer do topo ativada Layers / Merge Visible Layers Volte a visibilidade da layer de fundo Mantenha ativa a layer do topo Effects / 3D Effect / Drop Shadow: -5 / 5 / 60 / 20 / Escolha uma cor um pouco mais escuro que a cor 1 Repita com 5 / -5 Etapa 9 Layers / New Raster Layer Selections / Load/save selection / Load selection From disk Aplique a seleção "super_mamie1_animabelle" Pinte a seleção com a cor 2 Effects / 3D effect / Inner bevel 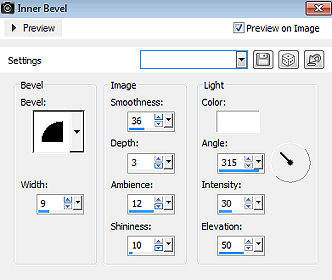 Selections / Select none Effects / 3D Effect / Drop Shadow: 5 / 5 / 100 / 10 / na mesma cor usada anteriormente Etapa 10 Layers / New Raster Layer Selections / Load/save selection / Load selection From disk Aplique a seleção "super_mamie2_animabelle" Pinte a seleção com a cor 2 Selections / Select none Effects / Plugins / Mura's Seamless / Emboss at Alpha (settings: default) Etapa 11 Copie e cole o tube de fundo Effects / Image Effects / Offset: -270 / 100 / Custom e Transparent marcados Layers / Duplicate Image / Mirror Effects / Image Effects / Offset: 0 / - 230 / Custom e Transparent marcados Image / Add borders / 3 pixels na cor 2 Edit / copy Image / Add borders / 60 pixels na cor 1 Selecione essa borda com a varinha mágica / Tolerance e Feather em 0 Edit / Paste into selection Effects / Plugins / Italian Editors Effect / Disturbo Zoom 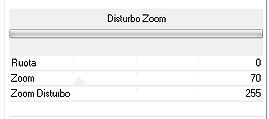 Effects / Plugins / Alien Skin / Eye Candy 5 - Impact / Perspective Shadow Aplique o settings "shadow8_animabelle" que está no material Selections / Invert Effects / Plugins / Alien Skin/ Eye Candy 5 - Impact / Perspective Shadow - como acima Selections / Select none Etapa 12 Copie e cole o tube personagem Posicione no centro como no modelo final Effect / Plugins / Alien Skin/ Eye Candy 5 - Impact / Shadow perspective - como acima Etapa 13 Layers / New Raster Layer Selections / Select All Effects / 3D Effect / Cutout 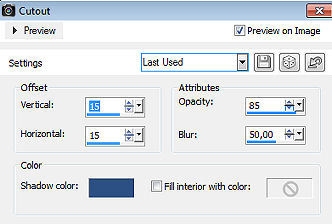
Selections / Select none Layers / Duplicate Image / Mirror Image / Flip Image / Add borders / 3 pixels na cor 1 Você pode adicionar as mesmas palavras que eu ou outras Assine e exporte como JPEG Optimizer após dar resize, se desejar http://animabelle.free.fr/Tutoriels_Animabelle/page3/super_mamie/super_mamie.htm |  |
|


