Les 277 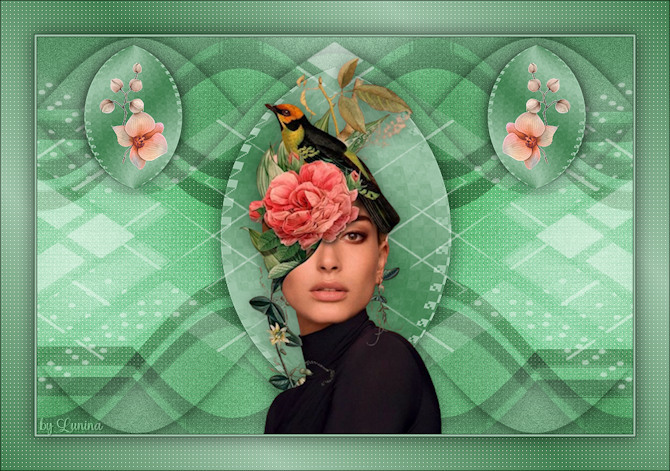
Obrigada Mieke por autorizar a tradução 
Material Aqui Plugins: <I C Net Software> Filters Unlimited 2.0> / Funhouse / PatchWork Flaming Pear / Flexify 2 <I C Net Software> Filters Unlimited 2.0> / Toadies Carolaine and Sensibility / CS-LDots Cores: Foreground na cor #428151 e Background na cor #9ec4a9 Forme o gradiente Style Linear / Angle 45 / Repeats 3 / Inver desmarcado 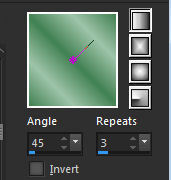 1. Abra uma image transparente com Width em 900 e Height em 600 2. Pinte a imagem com o gradiente 3. Adjust / Add/Remove Noise / Add Noise / Gaussian / Noise 25% / Monochrome marcado 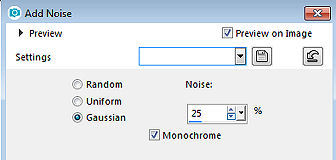
4. Layers / Duplicate 5. Image / Mirror (Mirror / Flip Horizontal) 6. Baixe a opacidade dessa layer para 50% Layers / merge / merge down 7. Aperte a tecla S para ativar a ferramenta Selections / Custom Selection Configure: Top 109 / Left 0 / Right 900 / Bottom 468 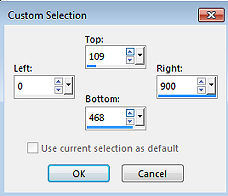
8. Selections / Promote selection to layer Effects / 3D Effects / Drop Shadow: 0 / 0 / 60 / 40 - Cor preta #000000 Selections / Select none 9. Effects / Distortion Effects / Wave: 0 / 100 - 18 / 67 / Transparent 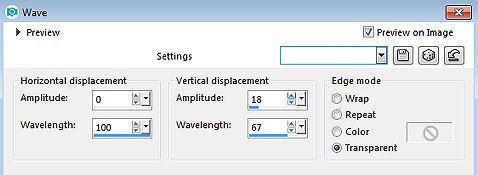
10. Layers / Duplicate 11. Image / Flip (Mirror / Flip Vertical) 12 Layers / Duplicate Effects / Plugins / <I C Net Software> Filters Unlimited 2.0> / Toadies / What Are You: 82 / 20 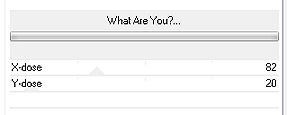
13. Effects / Plugins / Carolaine and Sensibility / CS-LDots: 255 / 3 / 2 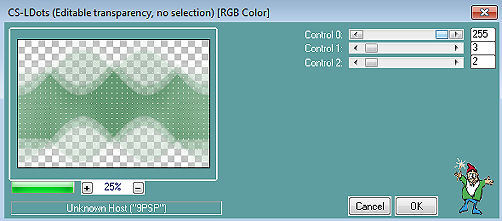
14. Effects / 3D Effects / Drop Shadow: 0 / 0 / 60 / 40 - Cor preta #000000 15. Mude o blend mode dessa layer para Hard Light (ajuste se usar outras cores) 16. Layers / New raster layer Aperte a tecla S para ativar a ferramenta Selections / Custom Selection Configure: Top 0 / Left 306 / Right 596 / Bottom 600 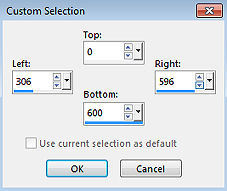
Pinte a seleção com o gradiente Selections / Select none 17. Effects / Plugins / <I C Net Software> Filters Unlimited 2.0> / Funhouse / PatchWork / Settings: default 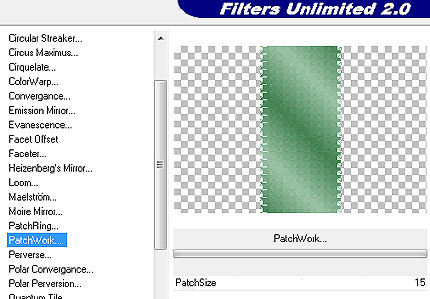
18. Effects / 3D Effects / Drop Shadow: 0 / 0 / 60 / 40 - Cor preta #000000 19. Effects / Plugins / Flaming Pear / Flexify 2: Input: equirectangule / Output: mirror ball / restante sem alterações 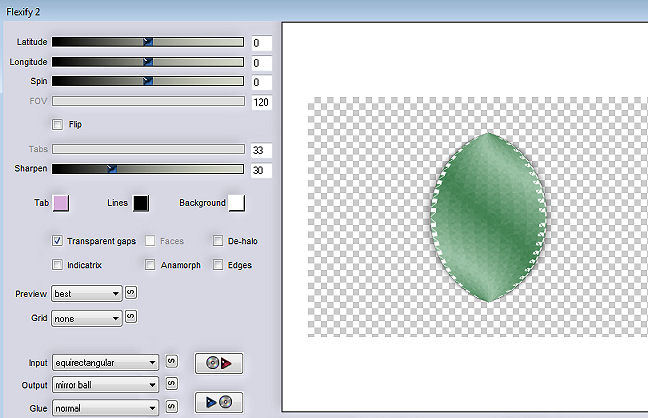
Layers / Duplicate 20. Ative a layer abaixo (Raster 2) Image / Resize / 120% / Resize all layers desmarcado 21. Adjust / Sharpness / Sharpen 22. Ative agora a layer do topo (copy of raster 2) Image / Resize / 80% / Resize all layers desmarcado Repita o Resize Repita o Resize Adjust / Sharpness / sharpen 23. Abra o tube da flor Edit / Copy Edit / Paste as a new layer na imagem Layers / Merge / Down Effects / Image Effects / Offset: 305 / 180 / Custom e Transparent marcados 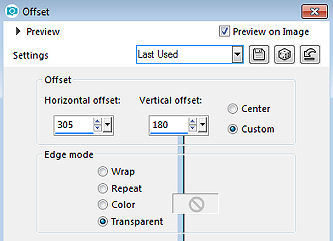
Effects / 3D Effects / Drop Shadow: 0 / 0 / 60 / 40 - Cor preta #000000 24. Layers / Duplicate Image / Mirror (Mirror / Flip Horizontal) Layers / Merge / Merge Down 25. Layers / New raster layer Pinte a layer com a cor branca (#ffffff) Layers / New Mask Layer / From Image Aplique a mask "12501824221_nikita_masque.jpg" 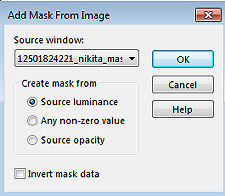
Layers / Duplicate Layers / Merge / Merge group. Baixe a opacidade dessa layer para 50 Layers / Arrange / Move Down 26. Abra o tube deco-1-png Edit / Copy Edit / Paste as a new layer na imagem Objects / Align / Bottom Mude o blend mode dessa layer para Overlay 27. Abra o Tube 12587hjk.png Edit / Copy Edit / Paste as a new layer na imagem Mova um pouco o tube para a direita (Veja modelo final) 28. Image / Add Borders / 1 pixel na cor #000000 Image / Add Borders / 3 pixels na cor #9ec4a9 Image / Add Borders / 1 pixel na cor #000000 Selections / Select all Image / Add borders / 50 pixels com uma cor diferente Selections / Invert Pinte a seleção com o gradiente inicial (Linear / 45 / 3) Effects / Plugins / Carolaine and Sensibility / CS-LDots: 255 / 3 / 2 Selections / Invert Effects / 3D Effects / Drop Shadow: 0 / 0 / 60 / 40 - Cor preta #000000 Selections / Select none 29. Image / Add Borders / 1 pixel na cor #000000 Assine Salve como JPEG https://www.pspmieke.nl/lessen/LES-277/les-277.html
|  |
|


