| Les 276 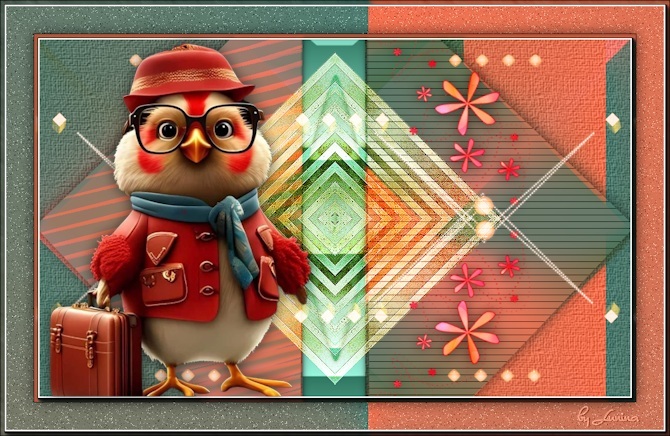
Obrigada Mieke por autorizar a tradução  Material Aqui Plugins Mehdi / Sorting Tiles L and K landssiteofwonders / Elvida Carolaine and Sensibility / cs—texture <I C Net Software> Filters Unlimited 2.0> / Paper Textures AAA Frames / Photo Frame Cores: foreground #f67150 e background #4e7c70 Forme o gradiente Style Radial / Angle 0 / Repeats 0 / Center Point 45 / 100 / Invert marcado 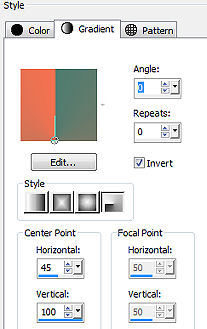
1. Abra uma imagem transparente com Width 900 e Height 550. Pinte a imagem com o gradiente 2. Effects / Image Effects / Seamless Tiling / Settings: default 3. Effects / Plugins / Mehdi / Sorting Tiles Block Range 300-500 / Block 300 / Crossed marcado 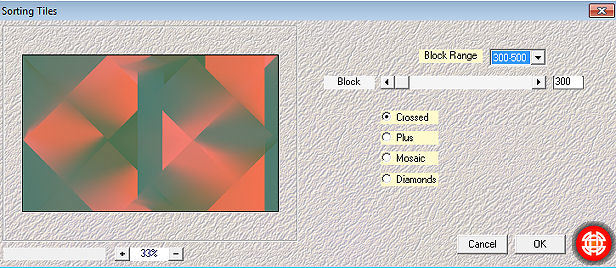
4. Aperte a tecla S ativando a ferramenta Selections / Custom Selection Configure Top 0 / Left 401 / Right 495 / Bottom 550 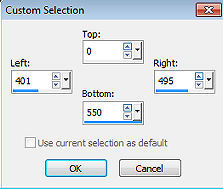
5. Layers / New raster layer Pinte a seleção com a cor do background (#4e7c70) Selections / Select none 6. Ative a layer de fundo (raster 1) Selections / Load/save selection / Load selection from disk Aplique a seleção "mb-276.PspSelection" 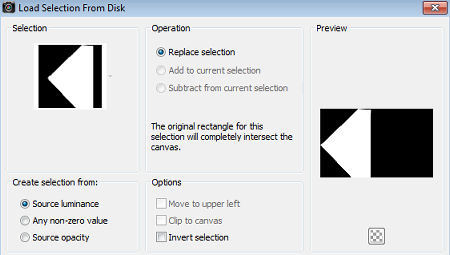
Selections / Promote selection to layer 7. Effects / Plugins / L and K landssiteofwonders / Elvida: 42 (background #4e7c70) 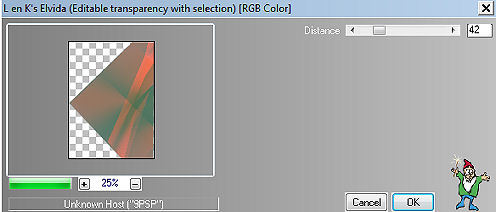
8. Selections / Edit selection 9. Image / Mirror 10. Ative novamente a layer de fundo (raster 1) 11. Selections / Edit selection 12. Selections / Promote selection to layer 13. Effects / Plugins / Carolaine and Sensibility / cs—texture: 100 / 0 / 0 / 0 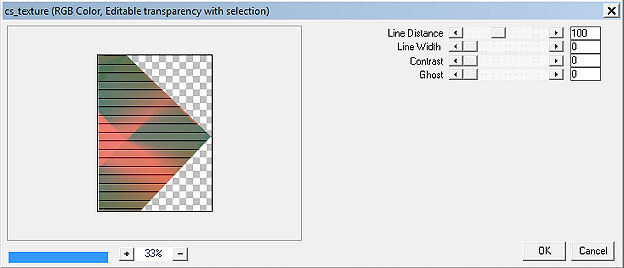
14. Selections / Select none 15. Na layer palete ative a layer acima (Promoted selection) 16. Layers / merge / merge down Effects / 3D Effects / Drop Shadow: 0 / 0 / 60 / 30. Cor preta 17. Abra o deco-2.png Edit / Copy Edit / Paste as a new layer na imagem Layers / Arrange / Bring to top Mude o blend mode dessa layer para Overlay 18. Ative agora a layer de fundo (raster 1) Effects / Plugins / <I C Net Software> Filters Unlimited 2.0> / Paper Textures / Canvas Coarse: 94 / 87 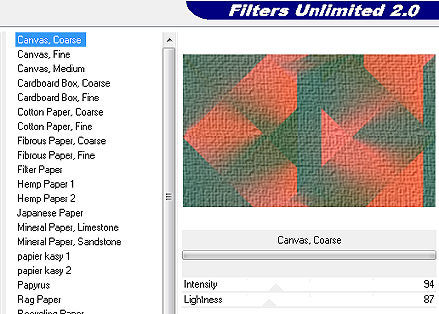
19. Ative agora a layer do topo 20. Abra o deco-1.png Edit / Copy Edit / Paste as a new layer na imagem Mude o blend mode dessa layer para Overlay 21. Abra o deco-2.png Edit / Copy Edit / Paste as a new layer na imagem Mude o blend mode dessa layer para Overlay 22. Abra o deco-3.png Edit / Copy Edit / Paste as a new layer na imagem 23. Effects / Image Effects / Offset; 175 / 0 / Custom e Transparent marcados 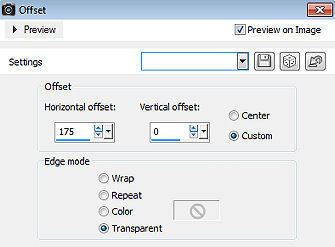
Effects / 3D Effects / Drop Shadow: 0 / 0 / 60 / 0 . Cor preta (como antes) 24. Abra o deco-4 Edit / Copy Edit / Paste as a new layer na imagem Mude o blend mode dessa layer para Screen 25. Image / Add Borders / 2 pixels na cor do Foreground (#f67150) Effects / Plugins / AAA Frames / Photo Frame: 6 / 0 / 0 / 2 (restante sem alterações) 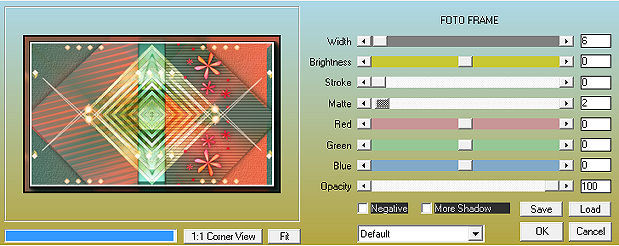
Selections / Select all 26. Image / Add borders / 50 pixels na cor branca Selections / Invert. Pinte a selação com o gradiente Selections / Promote selection to layer Image / Mirror 27. Adjust / Add/Remove Noise / Add Noise: Random / Noise 10% / Monochrome 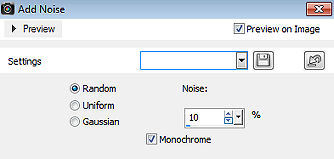
28. Selections / Invert. Effects / 3D Effects / Drop Shadow: 0 / 0 / 60 / 0 . Cor preta (como antes) Selections / Select none Layers / Merge / Merge all layers 29. Effects / Plugins / AAA Frames / Photo Frame: 6 / 0 / 0 / 2 (restante sem alterações) - como antes Abra o tube fa969-.png. Edit / Copy Edit / Paste as a new layer na imagem Effects / 3D Effects / Drop Shadow: 0 / 0 / 60 / 0 . Cor preta (como antes) 30. Mova o tube para a esquerda, como no modelo final Assine Salve como JPEG https://www.pspmieke.nl/lessen/les-276/les-276.html |  |
|


