Les 259 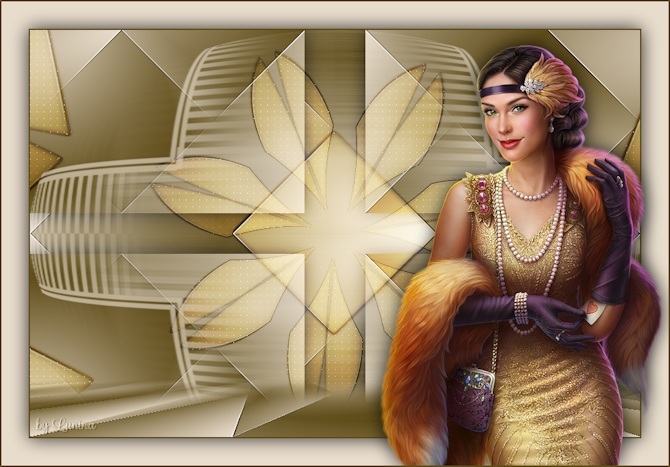
Obrigada Mieke por autorizar a tradução  Material Aqui Tube de Lana. TUBESpack@groups.io Plugins: Mehdi / Sorting Tiles <I C Net Software> Filters Unlimited 2.0> / Simple / Half Wrap Alien Skin Eye Candy 5: Impact / Glass Flaming Pear / Flexify 2 AP 01 (Innovations) / Lines-SilverLining / DottyGrid Mura`s Meister / Perspective Tiling Cores: Foreground cor #5f4c19 e Background cor #e8dccc Forme no Foreground o Gradiente Style Sunburst / Angle 0 / Repeat 1 / Invert marcado Center Point: Horizontal 50 e Vertical 50 / Focal Point: Horizontal 50 e Vertical 50. Desmarque a opção Link Center and focal points 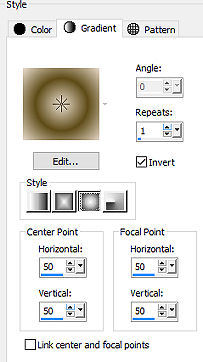
Use suas cores pessoais e ajuste o blend mode e a opacidade como achar melhor. Abra uma imagem transparente de 900 x 600 pixels 1. Pinte a imagem com o gradiente 2. Effects / Plugins / Mehdi / Sorting Tiles
Block range 150-300 / Block 300 / Crossed marcado. 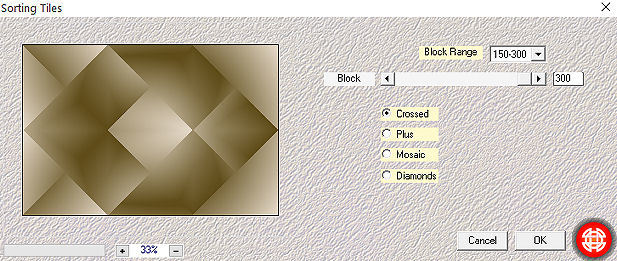
3. Effects / Edge Effects / Enhance More. 4. Layers / Duplicate Image / Resize / 90%. Resize all layers desmarcado 5. Effects / Plugins / <I C Net Software>Filters Unlimited 2.0> / Simple / Half-Wrap 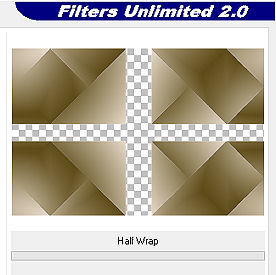
6. Effects / 3D Effects / Drop Shadow: 0 / 0 / 80 / 40 / preto. 7. Ative a layer abaixo – Raster 1 Selections / Load/Save selection / Load selection from disk Aplique a seleção “259-PspSelection” 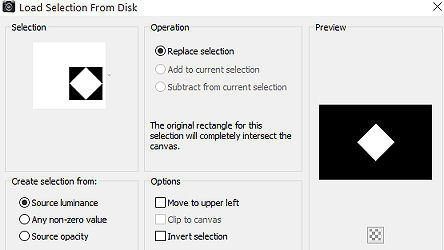
Selections / Promote selection to layer Layers / Arrange / Bring to top Selections / Select none. 8. Mude o blend mode da layer para Overlay (ajuste conforme suas cores) 9. Effects / Plugins / Alien Skin Eye Candy 5: Impact / Glass / Clear 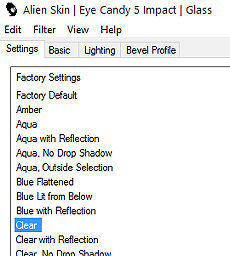
10. Layers / Duplicate 11. Effects / Reflection Effects / Kaleidoscope: -50 / -12 / 275 / 33 / 7 / 2 / 57 / Reflect 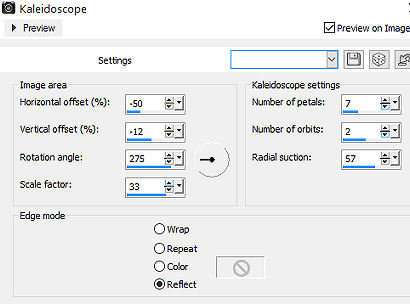
12. Effects / Plugin / AP 01 (Innovations)-Lines-SilverLining / DottyGrid / 10 / -1 / 10 / 3x255. 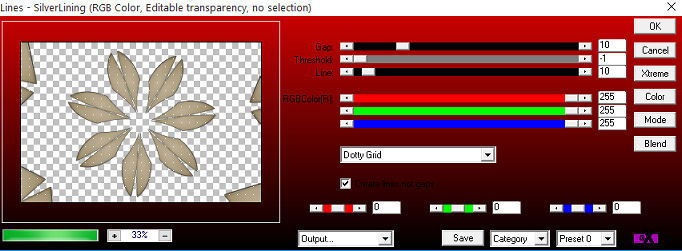
13. Layers / New Raster Layer / Pinte a layer com a cor clara ou branca 14. Layers / New Mask Layer / From Image Aplique a mask “2BitMask-34” / Source Luminance marcado. 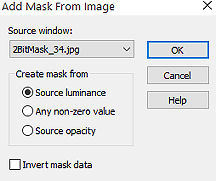
Layers / Merge / Merge Group 15. Effects / Plugins / <I C Net Software>Filters Unlimited 2.0> / Simple / Half Wrap, como antes 16. Effects / Plugins / Flaming Pear / Flexify 2 Input: mirror bal / Output: orthographic / Restante sem alterações. 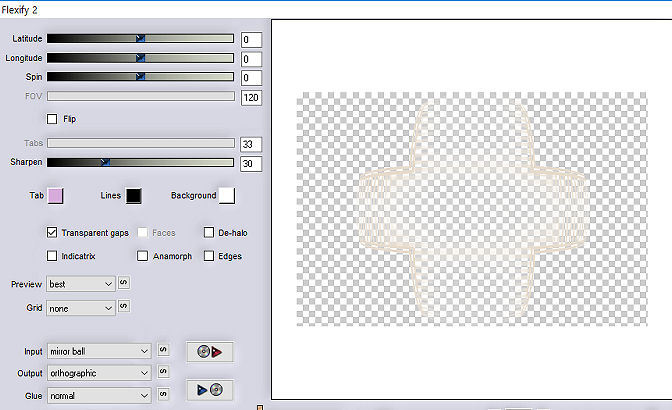
17. Aperte a tecla K ou ative a ferramenta Pick. Estique o pequeno quadradinho central para as laterais esquerda e direita, até a mask pegar toda a largura da imagem. 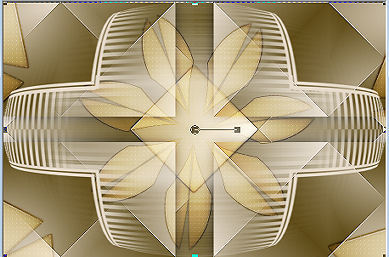 18. Baixe a opacidade da layer para 65% Aperte a tecla M para desativar a ferramenta Pick. 19. Ative a layer de fundo – Raster 1 Layers / Duplicate Layers / Arrange / Bring to top. Effects / Plugins / Mura`s Meister / Perspective Tiling: Height em 15. 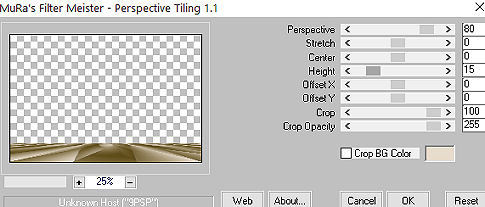
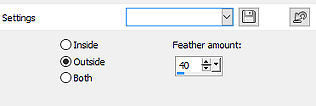
Com a varinha mágica / Tolerance e Feather 0, clique na parte superior (transparente). 20. Selections / Modify / Inside/Outside Feather / Outside 40. 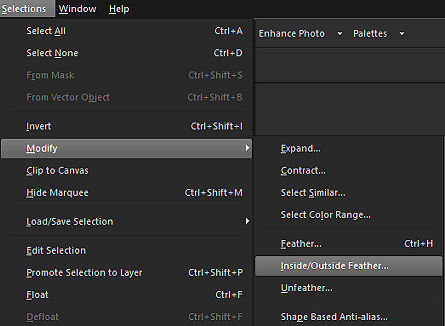
Aperte a tecla Delete. 21. Selections / Select none. 22. Image / Add Borders / 2 pixels com a cor escura Selections / Select all. Image / Add Borders / 40 pixels com a cor clara Effects / 3D Effects / Drop Shadow: 0 / 0 / 80 / 40 / preto. Selections / Select none. 23. Abra o tube LD-model-448.png. Remova a marca dágua Image / Mirror. Image / Resize / 80%. Resize all layers desmarcado Mova o tube para a direita (veja modelo final). 24. Effects / 3D Effects / Drop Shadow: 0 / 0 / 80 / 40 / preto. 25. Image / Add Borders / 2 pixels com a cor escura 26. Assine. Salve como JPEG. https://www.pspmieke.nl/lessen/les-259/les-259.html |  |
|


