Les 257 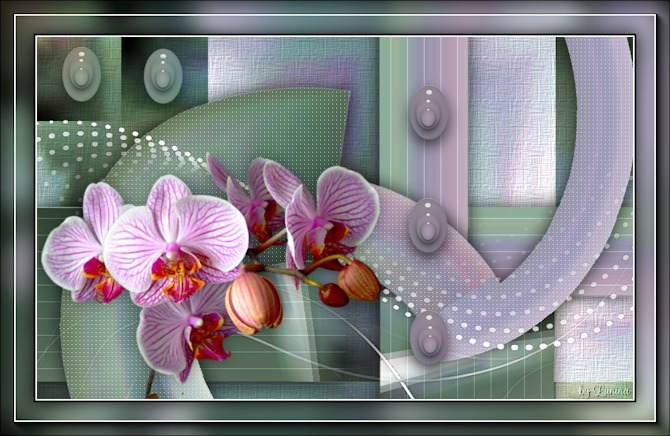
Obrigada Mieke por autorizar a tradução  Material Aqui Texture / CanvasFine (Corel_15_021) - Coloque a textura na pasta "Textures" do psp. Cores Foreground #ffffff (Branco) e Background #000000 (preto) Plugins Filters Unlimited 2.0> / Render / Color Clouds Mehdi / Sorting Tiles Mura`s Meister / Pole Transform 2.1 Unlimited 2.0 / VM Extravaganza Carolaine and Sensibility / CS-LDots AAA Frames / Photo Frame 1. Abra uma imagem de 900 x 550 pixels transparente 2. Pinte a imagem com a cor do foreground (#ffffff) 3. Plugins / <I C Net Software> Filters Unlimited 2.0> / Render - Clique em reset primeiramente / Color Clouds / 167 (Esse background está nos materiais) 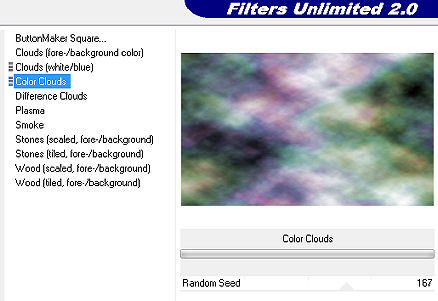
4. Effects / Plugins / Mehdi / Sorting Tiles: Block Range 150-300 / Block 260 / Plus marcado 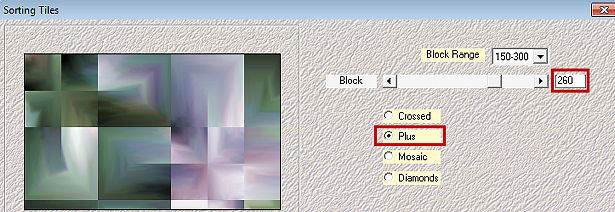
5. Selections / Load/Save selection / Load selection from disk Aplique a seleção "mb-257" 
6. Selections / Promote selection to layer 7. Selections / Select none 8. Layers / Duplicate 9. Effects / Plugins / Mura`s Meister / Pole Transform 2.1: 25 / 200 / 90 / 200 / 8 / 190 / 8. 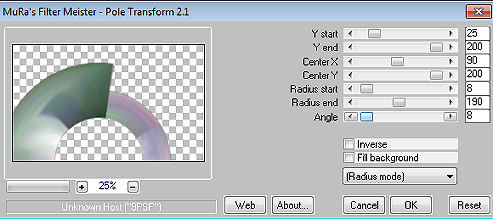
10. Effects / Plugins / <I C Net Software> Filters Unlimited 2.0 / VM Extravaganza / James Bondage: 128 / 128 / 0. 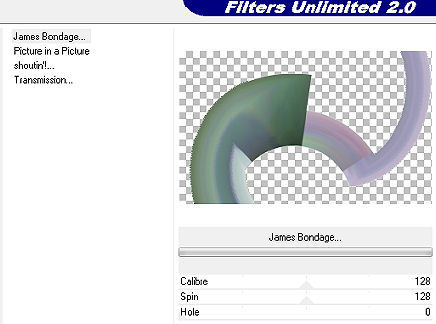
11. Effects / Plugins / Carolaine and Sensibility / CS-LDots: 140 / 3 / 2 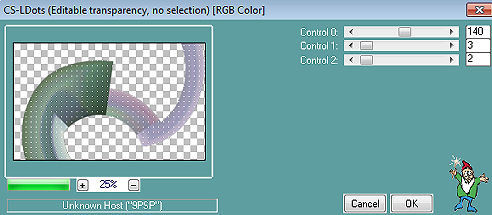
12. Effects / 3D Effects / Drop Shadow: 0 / 0 / 80 / 40 - preto 13. Ative a layer do meio (Promoted selection) Effects / Geometric Effects / Pentagon / Repeat marcado. 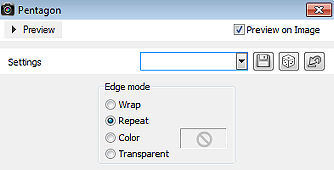
14. Repita o Geometric / Pentagon 15. Effects / 3D Effects / Drop Shadow: 0 / 0 / 80 / 40 - preto 16. Effects / Plugins / Carolaine and Sensibility / CS-Texture: 255 / 0 / 175 / 10 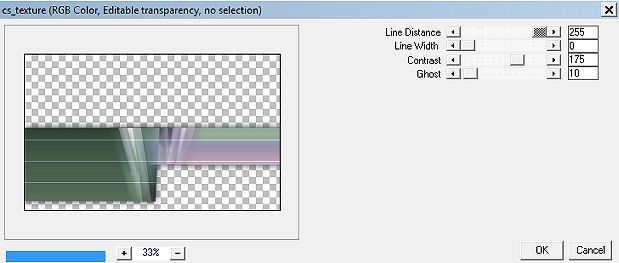
17. Layers / Duplicate 18. Image / Free Rotate / 90% / Left - Nada mais marcado. 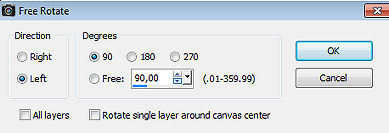
19. Aperte a tecla k e configure Position X 486 e Position Y -30 
Aperte a tecla M 20. Ative a layer de fundo (Raster 1) Effects / Texture Effects / Texture / Hatch Fine: 50 / 1 / 2 / 10 / 2 / 315 / 50 / 30 - cor branca 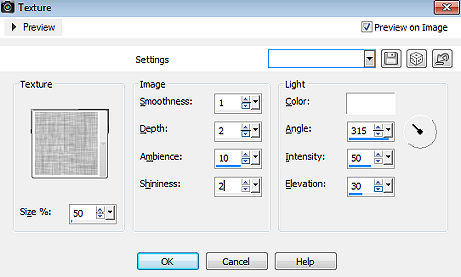
21. Ative a layer do topo Layers / New raster layer. Pinte a layer com a cor #ffffff (branca) 22. Abra a mask "masque-511-faniemargot.jpg" e minimize no psp. Layers / New Mask Layer / From Image Aplique a mask "masque-511-faniemargot.jpg" 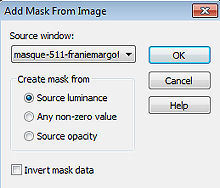
Layers / Merge / Merge Group 23. Image / Flip (Flip / Flip vertical) Aperte a tecla k e configure Position X 0 e Position Y 128 
24. Effects / Edge Effects / Enhance. 25. Abra o deco--1-257.png Edit / Copy Edit / Paste as a new layer na imagem Aperte a tecla k e configure Position X 530 e Position Y 57 
26. Abra o deco-2-257.png Edit / Copy Edit / Paste as a new layer na imagem Configure Position X 12 e Position Y 0 
Mude o blend mode dessa layer para Luminance (Legacy) 27. Abra o tube orchide-purple.png Edit / Copy Edit / Paste as a new layer na imagem Configure Position X -7 e Position Y 151. 
Aperte a tecla M 28. Image / Add Border / 1 pixel na cor #000000 (preta) Selections / Select All Edit / Copy Image / Add Borders / 50 pixels na cor branca Selections / Invert Edit / Paste into selection. Adjust / Blur / Gaussian Blur / Radius 20. Selections / Invert Effects / Plugins / AAA Frames / Foto Frame 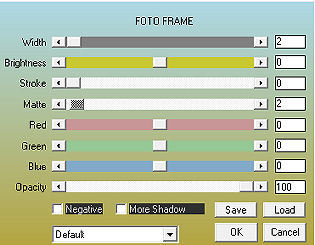
Effects / 3D Effects / Drop Shadow: 0 / 0 / 80 / 40 - preto Selections / Select none 29. Effects / Plugins / AAA Frames / Foto Frame 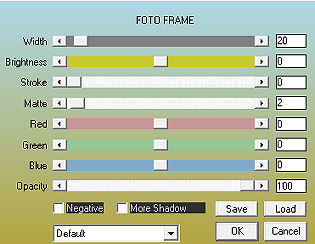
Assine e salve como JPEG. https://www.pspmieke.nl/lessen/les-257/les-257.html |  |
|


