| Danimage 
Obrigada Animabelle por autorizar a tradução  Material Aqui Este tutorial é uma criação pessoal de Animabelle Qualquer semelhança com outro é mera coincidência Plugins: Noise Filters / Noisy rotation
Filtre personnalisé / Emboss 3
Tramage / Quilt
Graphic plus / Cross Shadow et Kaléidoscope
Carolaine and Sensibility / CS-LDots
Alien Skin / Eye Candy 5 - Impact / Perspective Shadow IMPORTANTE Abra todas as imagens no PSP incluindo a(s) mask(s). Duplique tudo e feche os originais pois trabalharemos com as cópias Copie e copie a(s) seleção(ões) na pasta "Selections" do PSP Cores 
Sinta-se à vontade para alterar suas cores e o blend mode da layer para se adequar a seus tubes e imagens, bem como a cor das sombras (drop shadow), se necessário Realização Coloque a cor 1 no foreground e a cor 2 no background Etapa 1 No material, abra a layer "danimage_canal_alpha" Window / Duplicate / Feche a original Pinte a layer com gradiente Style Linear: Angle 130 / Repeats 3 / Invert desmarcado 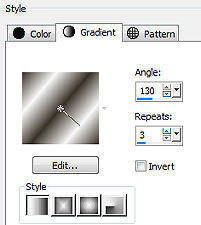
Adjust / Blur / Gaussian Blur em 15 Layers / Duplicate Image / Mirror Baixe a opacidade para 50 Layers / Merge / Merge down Effects /Image Effect / Seamless Tiling / Default 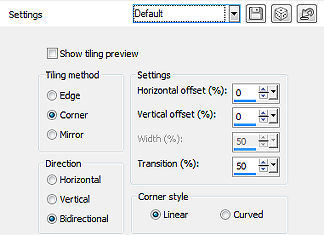 Effects / Noise Filters / Noisy rotation: 61 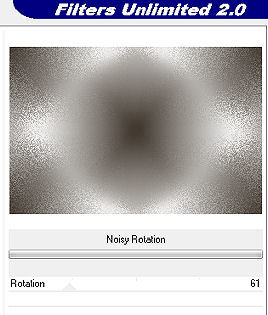
Effects / User Defined / Emboss 3 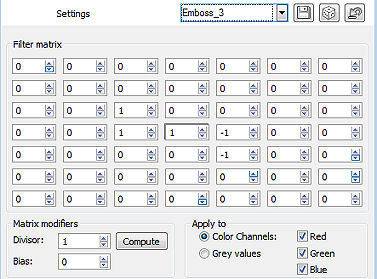
Effects / Plugins / Tramage / Quilt 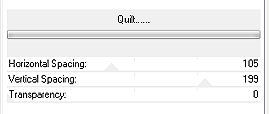
Effects / Distortion Effects / Warp 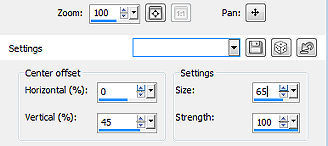
Etapa 2 Selection / Load/save selection / load selection From Alpha channel 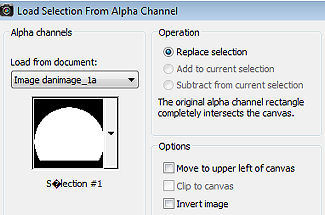
Selections / Modify / Expand em 5 Edit / Cut Selections / Select none Effects / 3D Effect / Drop Shadow: 8 / -16 / 70 / 15 / Cor 1 Repita com 8 / 16 Etapa 3 Layers / New Raster Layer Layers / Arrange / Move Down Pinte com a cor 1 Copie e cole como nova layer o tube danimage chateau mist Effects / Image Effect / Offset -10 / -50 / Custom e Transparent marcados 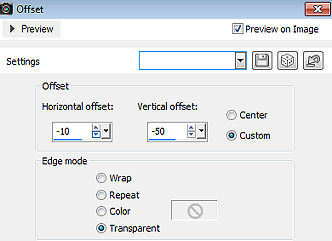 Adjust / Sharpness / Sharpen Mude o blend mode da layer para Luminance(Legacy) ou outro... dependendo de suas cores e tubes Layers / Merge All / Flatten Etapa 4 Selections / Select All Effects / 3D Effect / Cutout: 30 / 30 - 70 / 60,00 / Cor 1 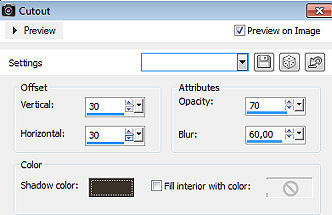
Repita com -30 / -30 Selections / Select none Etapa 5 Image / Add borders / Symmetric desmarcado Top, Left e Right em 1 / Bottom 0 / cor 3 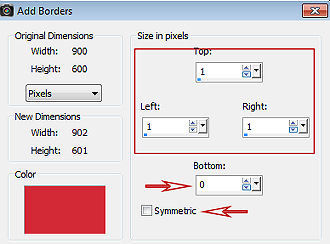
Image / Add borders / Symmetric desmarcado Top, Left e Right em 60 / Bottom 0 / cor 1 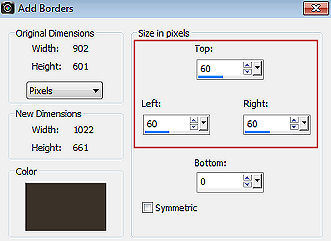
Selecione com a varinha mágica em Tolerance e Feather 0 / Inside marcado, as bordas de 60 px Pinte a seleção com o gradiente linear inicial Effects / Plugins / Graphic plus / Cross Shadow / Settings: Default Selections / Invert Effect / 3D Effect / Drop Shadow: -25 / 25 / 70 / 50 / Cor 1 Repita com 25 / -25) Selections / Select none Etapa 6 Image / Add borders / Symmetric desmarcado Top, Left e Right em 80 / Bottom 0 / cor 3 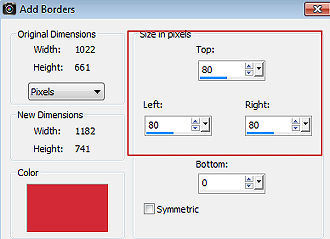
Selecione essa borda com a varinha mágica Forme o gradiente Style Rectangular Angle 0 / Repeats 3 / Invert desmarcado e formado pelas cores 1 e 2 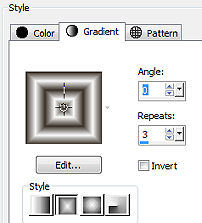 Effects / Graphic plus / Kaleidoscope 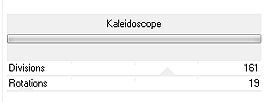
Effects / Plugins / Carolaine and Sensibility / CS-LDots 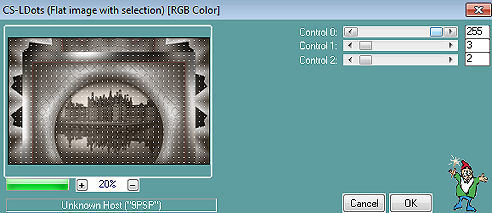
Selections / Invert Effects / 3D Effect / Drop Shadow na última configuração usada Selections / Select none Etapa 7 Copie e cole o tube "danimage mili tube" Posicione à esquerda na imagem Effects / Plugins / Alien Skin / Eye Candy 5 - Impact / Perspective Shadow / Preset (shadow_danimage) Etapa 8 Copie e cole o tube "danimage livre magique -2-" Posicione à direita na imagem Mude o blend mode para Luminance(Legacy) Adjust / Sharpness / Sharpen Etapa 9 Ative a layer de fundo (Raster 1) Ative a ferramenta Selection Rectangle Contorne a linha vermelha abaixo do livro (1 pixel widht ou mais) 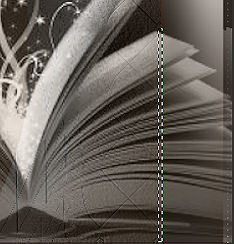
Pinte a seleção com a cor 1 Selections / Select none Etapa 10 Image / Add borders / symmetric marcado / 2 pixel na cor 3 Ative a ferramenta Text / Cor 3 no foreground e no background 
Com uma fonte de sua escolha escreva DANIMAGE Altere o tamanho e a espessura da linha de acordo com a fonte escolhida Com a ferramenta Deform ou Pick / Mode Perspective alarge o final da palavra e gire ligeirament para baixo, como mostro 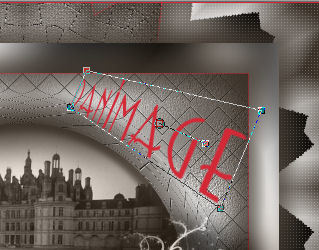
Layers / Convert to Raster Layer Com a ferramenta Move, ajuste a palavra no lugar certo Effects / 3D Effect / Drop Shadow: 1 / 1 / 100 / 1 / Preto Repita o drop shadow com -15 / 15 / 50 / 15 / Preto Layer / Merge All / Flatten Assine e Exporte como JPEG Optimizer após dar um resize, se desejar. http://animabelle.free.fr/Tutoriels_Animabelle/page3/danimage/danimage.htm |  |
|


