| Tutorial 250 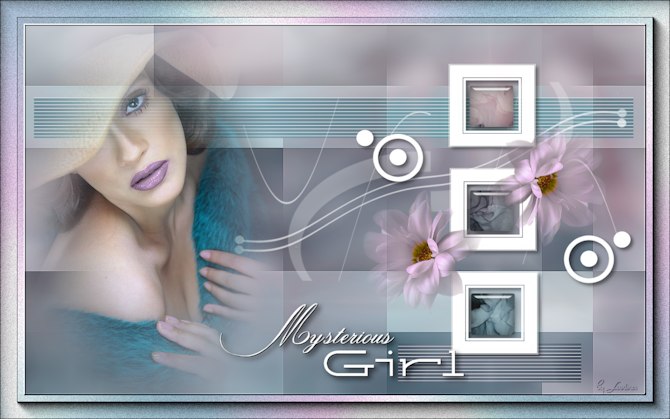
Obrigada VaZsu por autorizar a tradução  Material Aqui 1. Abra a image ”1”, duplique e feche o original Adjust / Blur / Gaussian Blur / radius 20 2. Effects / Plugins / Mehdi / Sorting Tile: Block Range 300-500 / Block 500 / Plus marcado 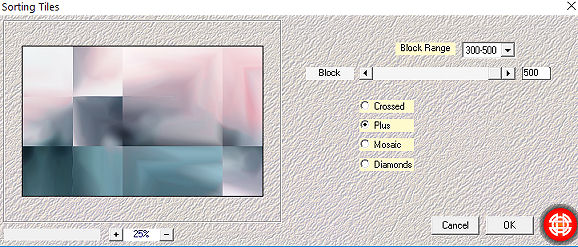
Layers / Duplicate 3. Effects / Plugins / Filters Unlimited / Simple / Centre Tile Image / mirror
Image / Flip
Baixe a opacidade dessa layer para 50%
Effects / Edge Effects / Enhance (aplique nas 2 layers) 4. Ative a layer do topo Layers / new raster layer Pinte com a cor branca Abra a “VaZsu Mask” e minimize 5. Layers / new mask layer / from image Aplique a mask 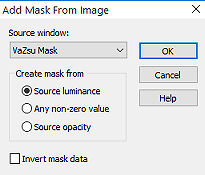
Layers / Merge group 6. Effects / 3D Drop shadow: 5 / 5 / 50 / 10,00 – preto 7. Copie e cole como nova layer a image 1 Layers / arrange / move down Com a ferramenta Deform, acerte o tamanho de acordo com as frames da mask, como mostro 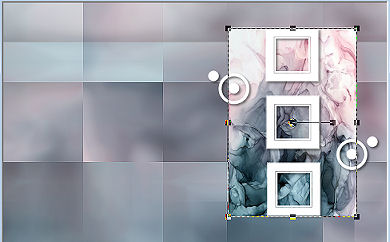
Desative a ferramenta Deform 8. Abra a “VaZsu Selection 1” e com a varinha mágica selecione as áreas brancas Selections / Load/save selection / Save selection to alpha channel Clique em Save e minimize a seleção 9. Volte para a imagem principal e mantenha ativa a layer da image 1 reduzida (2ª. de cima para baixo) Selections / Load/save selection / load selection from alpha channel Aplique a seleção 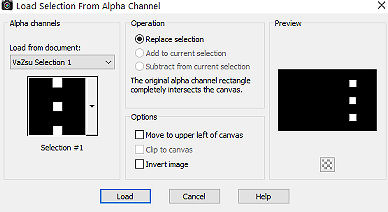
10. Selectios / promote selection to layer Selections / select none Ative a layer abaixo (image 1 reduzida) e a delete. Teremos a imagem e a layer palete assim 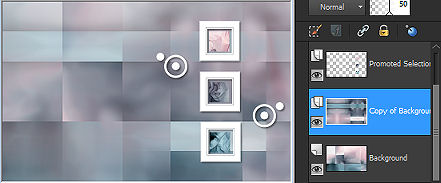
11. Ative a layer Promoted selection (2a. de cima para baixo) Effects / Plugins / Alien Sin / Eye Candy Impact / Glass 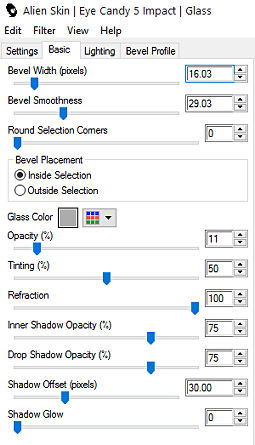
12. Ative a 2ª. Layer de baixo para cima (copy of background) Abra o “Decor element” – Edit / copy Edit / paste as new layer na imagem Effects / image effects / Offset: 185 / 57 / Custom e Transparent marcados 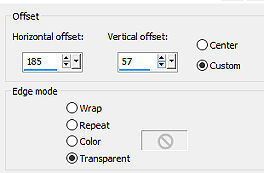
13. Abra a “Vazsu Selection 2” e com a varinha mágica selecione as partes brancas Salve novamente pelo Alpha Channel 14. Volte à imagem principal Ative a 2ª. Layer de baixo para cima (Copy of background) 15. Aplique a seleção 2 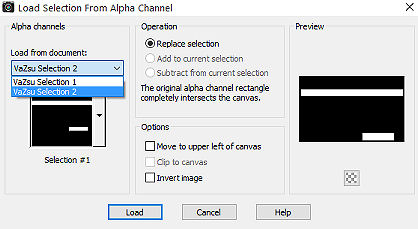
Selections / promote selection to layer 16. Com a promoted selection ativa Effects / Plugins / AP Lines / Silverlining: Horizontal / 7 / -1 / 10 / 255 / 255 / 255 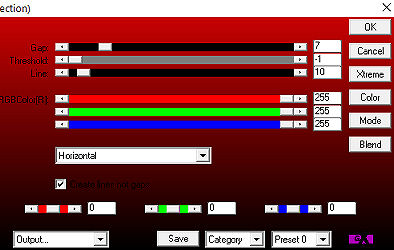
Selections / select none 17. Abra o tube “Flower” – Edit / copy Ative a layer do topo Edit / paste as new layer Effects / image effects / Offset: 170 / -87 / Custom e Transparent marcados 
18. Layers / duplicate Image / mirror Image / flip Effects / image effects / Offset: 579 /-35 / Custom e Transparent marcados 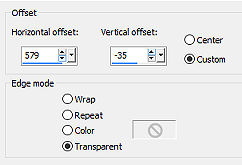
19. Abra o “Subtitle” – Edit / copy Edit / paste as new layer na imagem Effects / image effects / Offset: 15 /-270 / Custom e Transparent marcados 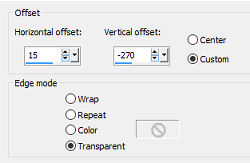
20. Image / add borders / 2 pixels na cor branca 21. Effects / 3D Effects / Inner bevel 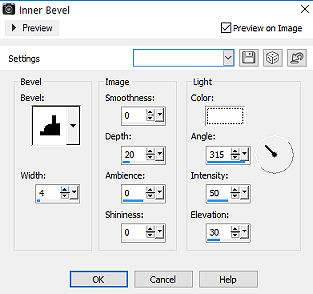
Edit / copy 22. Abra a “Base Image”
Selections / Select All
Selections / Modify / Contract 42 Edit / Paste into selection Selections / select none 23. Abra o tube “ar386” – Edit / copy Edit / paste as new layer na imagem Posicione à esquerda, como no modelo final 24. Assine e Salve como Jpeg. https://vazsupsptutorials.weebly.com/vazsu-tutorial-250.html |  |
|


