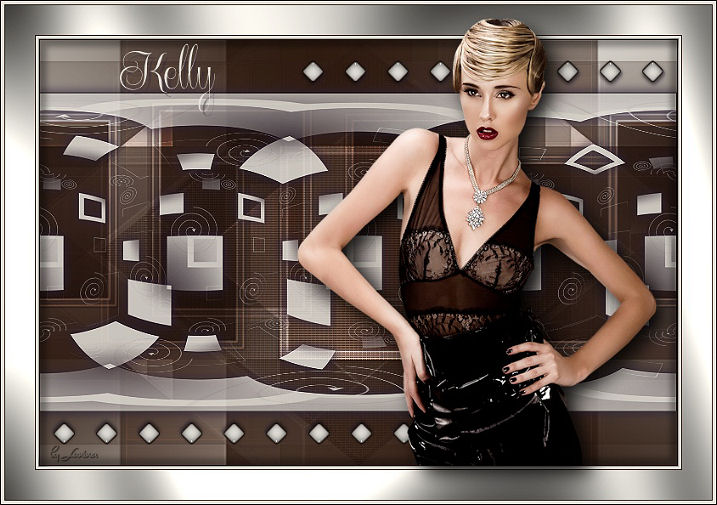
Kelly
 Obrigada Manuela por autorizar a tradução
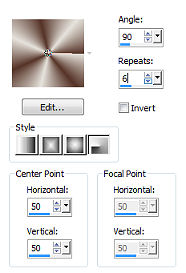
Original Aqui Materiais Aqui Tube de Mary Masks: Narah e Cameron Selections: Selection MDesign Kell 1 Selection MDesign Kelly 2 Selection MDesign Kelly Ruit Plugins: AP 01 (Innovations) / Lines / Silver lining Flaming Pear / Flexify 2 Alien Skin Eye Candy 5 Impact / Glass / Perspective Shadow Graphics plus / Cross Shadow Coloque as seleções a pasta de Seleções do Psp Escolha uma cor clara do tube para o foreground e uma escura para o background Use suas próprias cores , tubes e escolha a opacidade e o blend mode que mais lhe agradar. Configure um gragiente: Style Radial / Angle 90 / Repeat 6 / Invert desmarcado / Local Point 50 e 50
Abra uma imagem de 750x500 transparente
Pinte com o gradiente Adjust / Blur / Gaussian blur / Radius 55 Layers / New raster layer Pinte com a cor do background Abra a Mask Narah mask 0206, minimize no Pasp
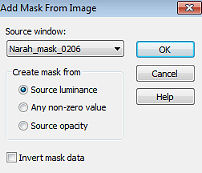
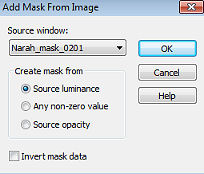
Layers / New mask layer / From image localize a aplique a Narah mask 0206
Layers / Merge / Merge group Effects / Edge effects / Enhance more Effects / 3D effects / Drop shadow: 10 / 10 / 40 / 2 - preto Mude o blend mode para Lighteen ou outro Layers / New raster layer Pinte com a cor do background Abra a Narah mask 0201 no Psp e minimize Layers / New mask layer / From image Localize e aplique a Narah mask 0201
Layers / Merge / Merge group Layers / Duplicate Layers / merge / merge down Adjust / Sharpness / Sharpen Layers / New raster layer Selections / Load/save selection / Load selection from disk aplique a Selection MDesign Kelly 1
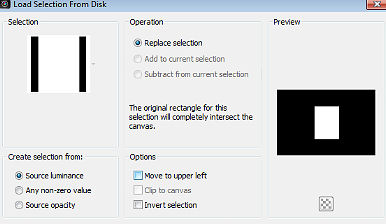
Selection / Modify / Select selection borders / Both sides / width: 1 / anti alias marcado Passe o foreground para cor Pinte a seleção com a cor do foreground Selections / Load/save selections / Load selection from disk aplique a Selection MDesign Kelly 2
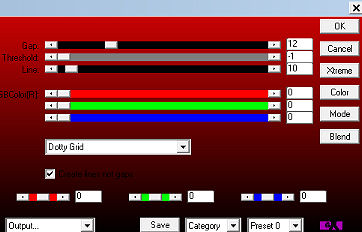
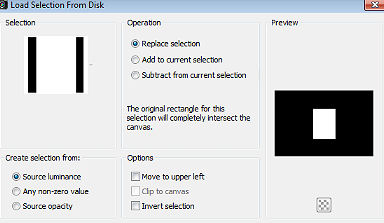 Selections / Modify / Select selection borders - como antes Pinte a seleção com a cor do foreground Selections / Select None Ative a varinha mágica e selecione o centro do quadrado Layers New raster layer Pinte com a cor do background Selections / Select None Effects / Plugins / AP 01 (Innovations) / lines - silverlining: 12 / -1 / 10 / 0 / 0 / 0 / Dotty Grid
Layers / Arrange / Move down Ative a layer do topo (raster 2) Layers / merge / merge down Effects / 3D effects / Drop shadow: 2 / 2 / 40 / 2 - preto; repita com H e V= -2 Layers / Duplicate Image / Resize à 90%, resize all layers desmarcado Effects / Image effects / Offset: H= -220 / V= 0 / Custom e Transparent marcados Layers / Duplicate Image / Mirror Layers / merge / merge down Repita o merge down Effects / Image effects / Seamless tiling / Angle / Bidirectional / Horizontal offset: 60 / Vertical offset: 80 / Width: 50 / Transition: 94 / Linear marcado
 Baixe a opacidade da layer para 75 e mude o Blend mode para Overlay
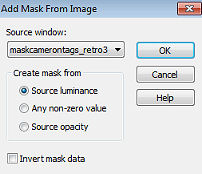
Layers / New raster layer Pinte com a cor do foreground Abra a mask Camera tags - retro 3 minimize no Psp Layers / New mask layer / From image - localize e aplique a mask Camera tags - retro 3
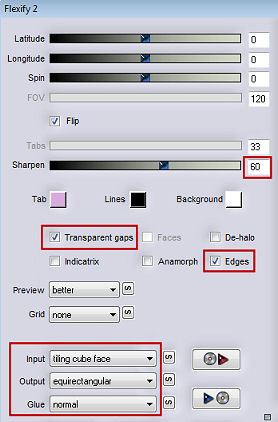
Layers / Merge / Merge group Effects / Plugins / Flaming Pear / Flexify 2
Effects / 3D effects / Drop shadow: 1 / 1 / 80 / 15 - preto Repita co H e V= -1 Baixe a opacidade da layer para 85 Adjust / Sharpness / Sharpen Layers /New raster layer Selections / Load/save selections / Load selection from disk - aplique a Selection MDesign Kelly Ruit
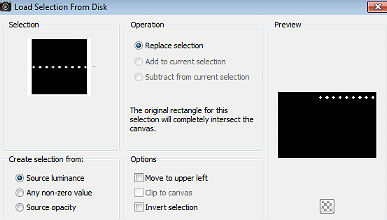
Pinte com a cor do foreground
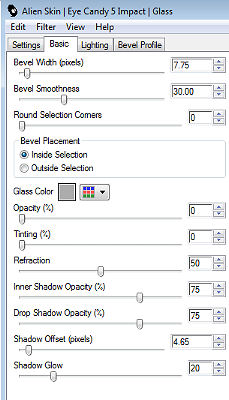
Selections / Modify / Select selection borders / Outside / width: 2 / anti alias desmarcado Pinte a seleção com a cor do background Selections / Select None Effects / Plugins / Alien Skin Eye Candy 5 / Impact / Glass / aplique o settings: Clear ou nessas configurações
Effects / 3D effects / Drop shadow: 2 / 2 / 40 / 1 - preto Layers / Duplicate Image / Flip Image / Mirror Image /Add borders Symmetric 1 px na cor do background 4 px na cor do foreground 1 px na cor do background 35 px na cor do foreground 1 px na cor do background 4 px na cor do foreground 1 px na cor do background Ative a varinha mágica e selecione a borda larga Effects / Plugins / Graphic Plus / Cross Shadow / Default
Selections / Select all Selections / Modify / Contract 45 Layers / New raster layer Effects / 3D effects / Cut out / 10 / 10 / 35 / 10 - cor preta
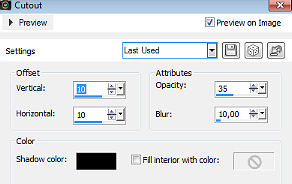 Layers / New raster layer Effects / 3D effects / Cut out: -10 / -10 / 35 / 10 - preto Selections / Select None Abra seu tube
Edit / Copy - Edit. Edit /Paste as a new layer Image / Dê Resize se necessário, Resize all layers desmarcado
Posicione como no modelo Effects / Plugins / Alien Skin Eye Candy 5 / Impact / Perspective Shadow aplique o Settings: Drop Shadow, Blurry Layers / Merge / Merge visible Ative a ferramenta Texto e escreva "Kelly" / com a cor do foreground Effects / 3D effects / drop shadow: 5 / 5 / 40 / 1 - preto Assine Layers / Merge / Merge all layers Salve como Jpeg. | 
 AimooHelpForum
Aimoo Forum List |
Ticket |
Today |
Member |
Search |
Who's On |
Chat Room | Photos | Help |
Sign In |
AimooHelpForum
Aimoo Forum List |
Ticket |
Today |
Member |
Search |
Who's On |
Chat Room | Photos | Help |
Sign In |
 |
|


