| Les 256 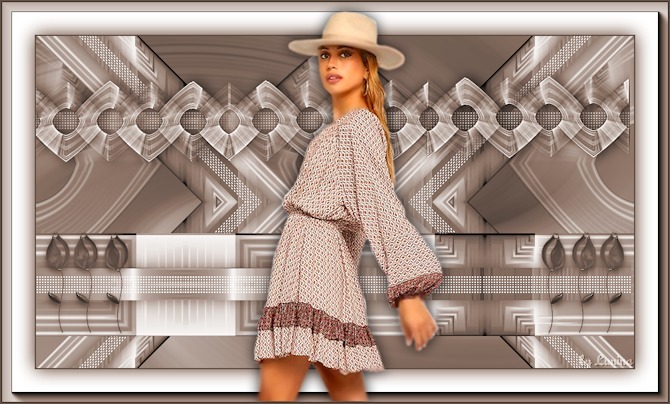
Obrigada Mieke por autorizar a tradução  Material Aqui Plugins: Mehdi / Sorting Tiles <IC Net Software> Filters Unlimited 2.0> / Simple Flaming Pear / Flexify 2 AAA Frames Cores: Foreground cor #635045 / Background cor #ffffff 1. Abra uma imagem transparente de 900 x 500 pixels 2. Selections / Select All 3. Abra o background.-1 (achtergrond.-1) Edit / Copy Edit / Paste into selection na imagem Selections / Select none 4. Effects / Plugins / Mehdi / Sorting Tiles: Block Range 300-500 / Block-300 / Plus marcado 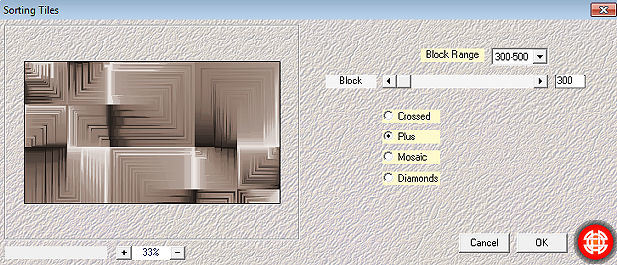
5. Effects / Plugins / <I C Net Software>Filters Unlimited 2.0> / Simple / Centre Tile 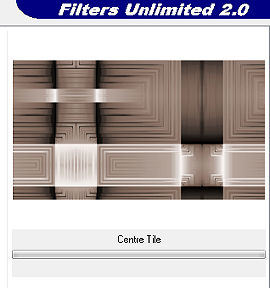
6. Aperte a tecla S Selections / Custom Selection: Top 297 / Left 0 / Right 900 / Bottom 452 
7. Selections / Promote selection to layer Selections / Select none Layers / Duplicate 8. Effects / Plugins / Flaming Pear / Flexify 2: Input - equirectangular / Output - square / restante sem alteração. 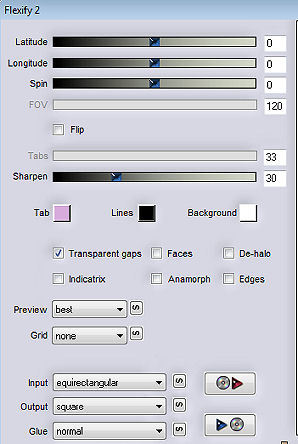
9. Objects / Align / Top 10. Layers / Duplicate 11. Effects / Reflection Effects / Rotating Mirror: 50 / 0 / Reflect 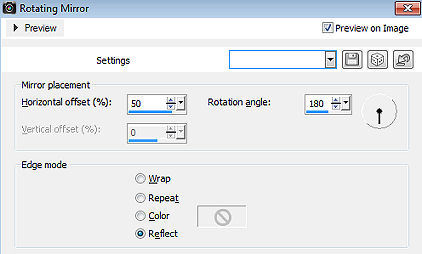
12. Effects / Reflection Effects / Rotating Mirror: 0 / 0 / Reflect.(Default) 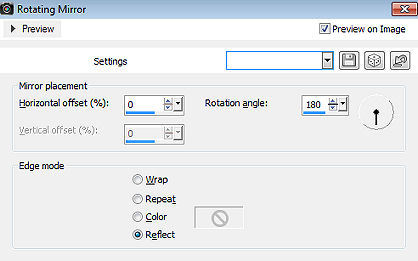
13. Layers / merge / merge down 14. Layers / Arrange / Move Down Mude o blend mode dessa layer para Overlay / Baixe a opacidade para 70 15. Ative a layer do topo. 16. Abra o deco-256-1 Edit / Copy Edit / Paste as a new layer na imagem Aperte a tecla K e configure Position X -4 e Position Y 328 
Aperte a tecla M. Layers / merge / merge down. 17. Layers / Duplicate Effects / Geometric Effects / Skew / Vertical / 45 / Transparent 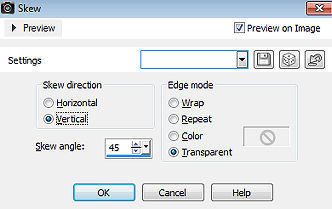
18. Layers / Duplicate Image / Mirror Layers / merge / merge down. 19. Effects / Plugins / <I C Net Software>Filters Unlimited 2.0> / Simple / Top Left Mirror 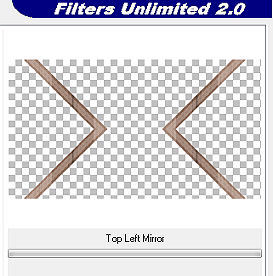
20. Layers / Arrange / Move Down 21. Ative a layer do topo. 22. Abra o deco-256-2 Edit / Copy Edit / Paste as a new layer na imagem Aperte a tecla K e configure Position X -7 e Position Y 41 Aperte a tecla M. 23. Ative a layer de fundo - (Raster 1) Adjust / Blur / Radial Blur / Twirl / Strength 75 / Twirl degrees 35 / Horizontal Offset 0 / Vertical Offset 0 / Protect Center 0 / Eliptical marcado. 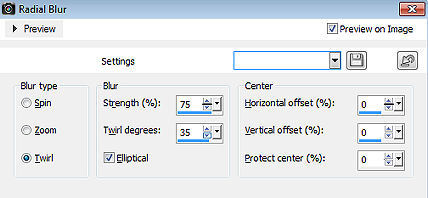
24. Abra o Tube- Benice_deco Edit / Copy Edit / Paste as a new layer na imagem Layers / Arrange / Bring to top. Aperte a tecla k e configure Position X 748 e Position Y 290. Aperte a tecla M 25. Layers / Duplicate Image / Mirror. 26. Image / Add Borders / 2 pixels / cor escura 27. Selections / Select All Image / Add Borders / 50 pixels / branca 28. Effects / 3D Effects / Drop Shadow: 0 / 0 / 80 / 40 - Preto 29. Selections / Select none 30. Effects / Plugins / Filters / AAA Frames / Photo Frame: 15 / 0 / 0 / 2 / -3 / -9 / -21 / 100. 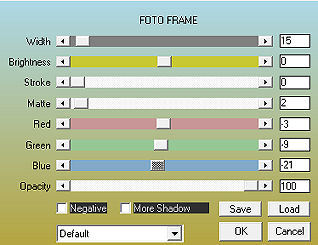
31. Adjust / Hue and Saturation / Colorize: 15 / 40. 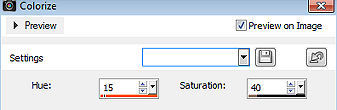
32. Abra o Tube - Kamalini-950 Edit / Copy Edit / Paste as a new layer na imagem 33. Effects / Image Effects / Offset: 40 / -6 / custom e Transparent 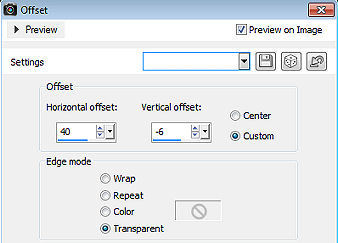
34. Effects / 3D Effects / Drop Shadow: 0 / 0 / 80 / 30 - preto. 35. Image / Add Borders / 2 pixels na cor escura. Assine. Salve com JPEG Optimizer. https://www.pspmieke.nl/lessen/les-256/les-256.html |  |
|


