| Les 254 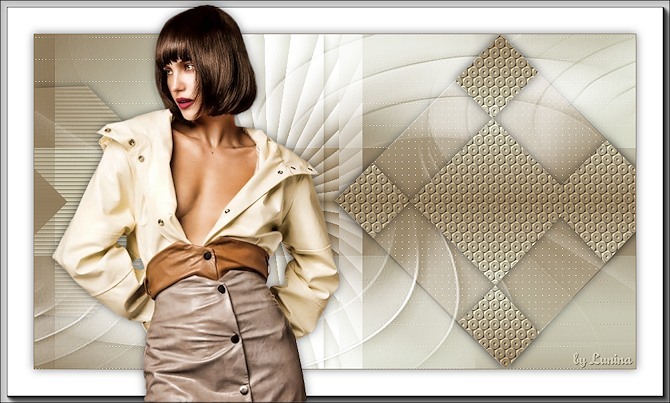
Obrigada Mieke por autorizar a tradução 
Material Aqui
Plugins: Mehdi / Sorting
<I C Net Software> Filters Unlimited 2.0> / Simple
AP 01 (Innovations)-Lines-SilverLining / Dotty
<I C Net Software> Filters Unlimited 2.0 / &<Bkg Designer sf10 II > / Fan Blades
<I C Net Software> Filters Unlimited 2.0 / Toadies
AAA Frames / Foto Frame Cores: Foreground cor #917c5d e Background cor #dde0cd Forme o gradiente: Style Linear / Angle 45 / Repeats 3 / Invert desmarcadp 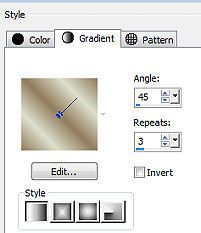
1. Abra uma image de 900 X 500 pixels, transparente 2. Pinte a imagem com o gradiente 3. Effects / Plugins / Mehdi / Sorting Tiles: Block Range 300-500 / Block 420 / Plus marcado 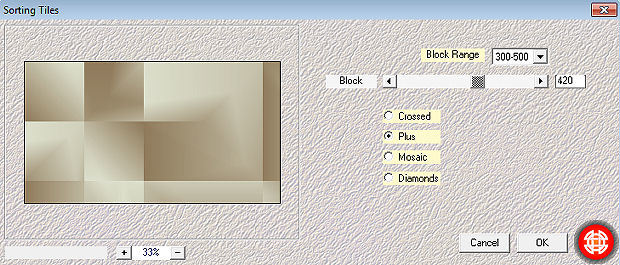
4. Effects / Plugins / filter / <I C Net Software>Filters Unlimited 2.0> / Simple / Pizza Slice Mirror 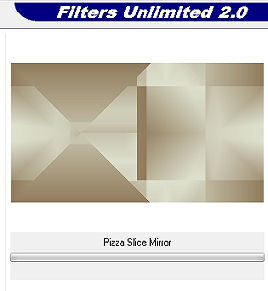
5. Effects / Plugins / <I C Net Software>Filters Unlimited 2.0> / Simple / Half Wrap 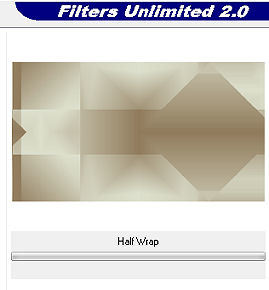
6. Selections / Load/Save selection / Load selection from disk Aplique a seleção "sel-mb-254-1.PspSelection" Selections / Promote selection to layer 7. Layers / Duplicate (Copy of promoted selection) 8. Effects / Plugins / <I C Net Software> Filters Unlimited 2.0> / Simple / Zoom Out and Flip 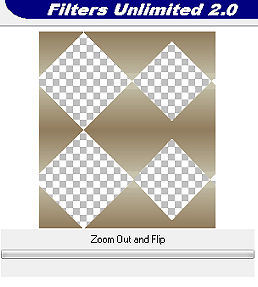
9. Effects / Texture Effects / Texture Localize a textura "Cogs02": 30 / 0 / 1 / 0 / 0 / 315 / white / 50 / 30. (ou escolha uma nova texture) 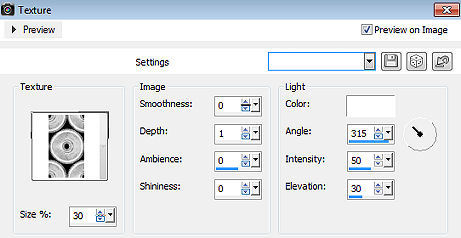
10. Selections / Select none Effects / 3D Effects / Drop Shadow: 0 / 0 / 50 / 20. Cor preta 11. Na sua layer paleta, ative a layer abaixo (promoted selection) 12. Effects / Plugin / Filter / AP 01 (Innovations)-Lines-SilverLining / Dotty Grid: 10 / -1 / 10 / 3x 255 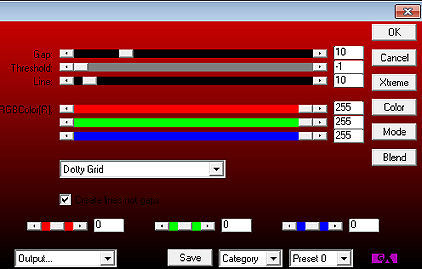
13. Effects / 3D Effects / Drop Shadow: 0 / 0 / 50 / 20 - Cor preta 14. Ative a layer de fundo (Raster 1) Selections / Load/Save selection / Load selection from disk Aplique a seleção "sel-mb-254-2.PspSelection" Selections / Promote selection to layer Effects / Texture Effects / Blinds: 6 / 80 / cor escura e Horizontal marcado. 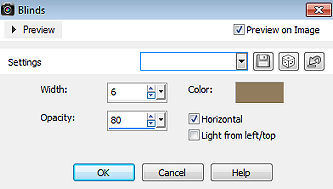 15. Effects / 3D Effects / Drop Shadow: 0 / 0 / 50 / 20. Cor preta 16. Selections / Select none 17. Ative novamente a layer de fundo (Raster 1) Aperte a tecla S Selections / Custom Selection: Top 0 / Left 245 / Right 456 / Bottom 500. 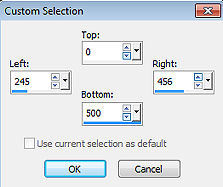
Selections / Promote selection 18. Effects / Plugins / <I C Net Software> Filters Unlimited 2.0 / &<Bkg Designer sf10 II > / Fan Blades: 53 / 3x-128. 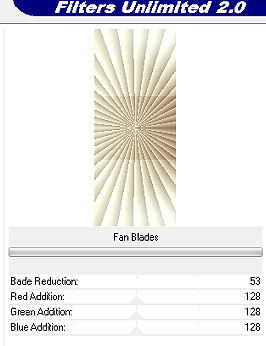
Selections / Select none 19. Layers / Duplicate Effects / Plugins / <I C Net Software> Filters Unlimited 2.0> / Toadies / What Are You: 20 / 0 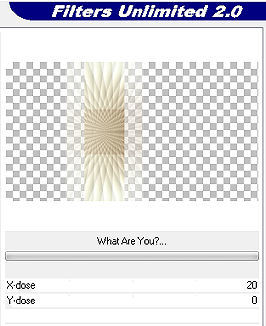
20. Layers / Arrange / Move Down. 21. Ative a layer acima (Promoted selection 2) Selections / Custom Selection: Top 0 / Left 270 / Right 433 / Bottom 500 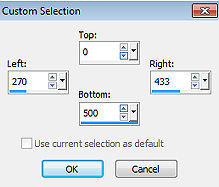
22. Effects / 3D Effects / Drop Shadow: 0 / 0 / 50 / 20. Cor preta 32. Layers / merge / merge down 33. Layers / Arrange / Move Up Selections / Select none 34. Mude o blend mode dessa layer para Luminance. 35. Ative a layer do topo 36. Layers / New Raster Layer Pinte a layer com a cor branca (#ffffff) Layers / New Mask Layer / From Image Aplique a mask155.jpg 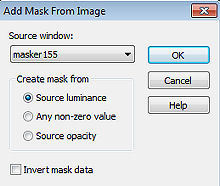
Layers / Merge / Merge Group 37. Adjust / Sharpness / Sharpen 38. Ative a layer de fundo (Raster 1) Effects / Plugins / L and K landssiteofwonders / L and K`s / Zitah / Settings Default Adjust / Sharpness / Sharpen 39. Image / Add Borders / 1 Pixel na cor escura Selections / Select All Image / Add Borders / 50 pixels na cor branca Effects / 3D Effects / Drop Shadow: 0 / 0 / 50 / 20. Cor preta Selections / Select none 40. Effects / Plugins / AAA Frames / Foto Frame 
41. Abra o tube "Beauty_Shiloh_by_CibiBijoux.png" Remova a marca dágua Edit / Copy Edit / Paste as a new layer na imagem Image / Resize em 75%. Resize all layers desmarcado 42. Aperte a tecka k e configure Position X 77 e Position Y6 
Aperte a tecla M 43. Effects / 3D Effects / Drop Shadow: 0 / 0 / 50 / 20. Cor preta Assine. Dê Resize na sua imagem, se desejar Salve com JPEG https://www.pspmieke.nl/lessen/les-254/les-254.html
|  |
|


