Gwladys 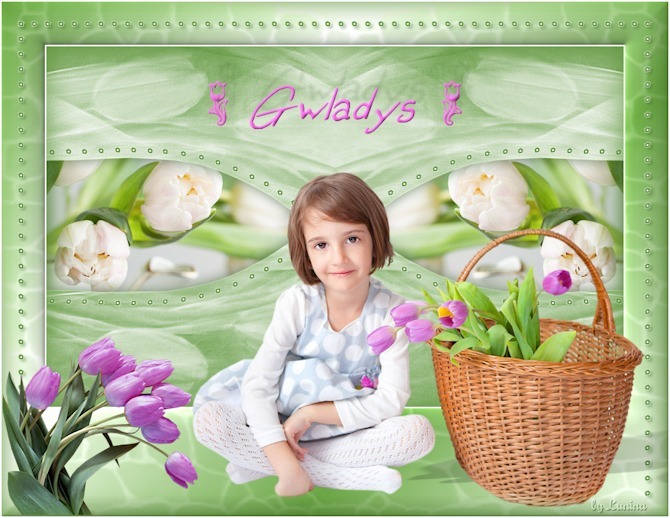
Obrigada Animabelle por autorizar a tradução  Material Aqui Este tutorial é uma criação pessoal de Animabelle Qualquer semelhança com outro é mera coincidência Material utilizado: 2 Tubes (de livre escolha)
1 Image ( de livre escolha)
2 Masks Animabelle
2 Tube déco Animabelle
1 Seleção
Plugins:
User Defined filter Render
Eye Candy 5 / Impact Cores: 
Fique à vontade para alterar as cores e o blend mode da layer de acordo com os tubes e imagens escolhidos, bem como das cores do drop shadow, se necessário. Inicialmente abra todas as imagens no PSP inclusive a(s) mask(s) Duplique tudo e feche os originais porque não trabalharemos comeles. Realização Etapa 1 Abra uma imagem transparente de 800 x 500 pixels Cor 1 no foreground e a cor 2 no background Pinte a imagem com a cor 2 (branco) Layers / New Raster Layer Pinte a imagem com a cor 1 (verde) Layers / New Raster Layer Pinte a layer com a cor 2 (branca) Etapa 2 Layers / New Mask Layer / From Image Aplique a mask "Masque_gwladys1_animabelle" 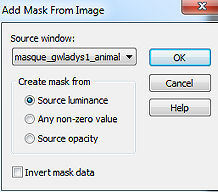
Effects / User Defined Filter / Emboss 6 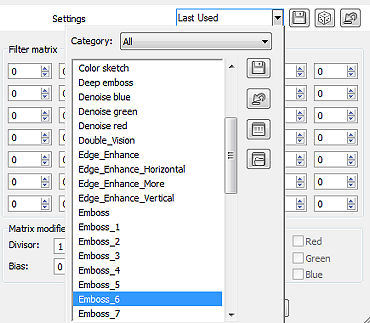
Layers / Merge Group Etapa 3 Layers / Merge / Merge down Layers / New Mask Layer / From Image Aplique a mask "Masque_gwladys2_animabelle" 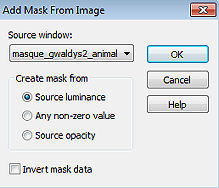
Layers / Merge Group Mude o blend mode da layer para Darken Effects / 3D Effect / Drop Shadow: 0 / 0 / 100 / 100 / cor branca Adjust / Sharpness / Sharpen More Etapa 4 Layers / Merge Visible Layers Selections / Load/save selection / Load selection From disk Aplique a seleção (selection1_gwladys_animabelle) 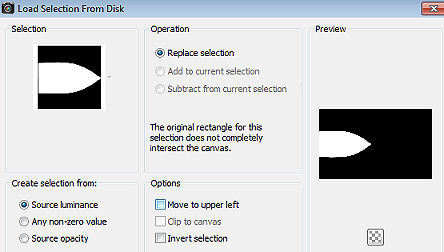
Edit / Cut Copie e cole como nova layer a imagem de sua escolha (no tutorial foi utilizada a image_gwladis_animabelle) Com a ferramenta Move posicione como achar melhor, a imagem na seleção 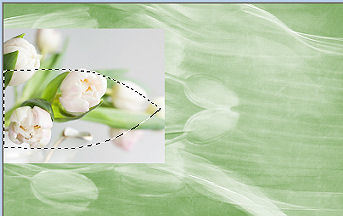
Selections / Invert Edit / Cut Selections / Invert (novamente) Layers / New Raster Layer Effect / 3 D Effect / Cutout: 0 / 0 / 70 / 30, 00 - Color #314f1f 
Selections / select none Etapa 5 Copie e cole como nova layer o deco tube (deco_gwladys1_animabelle) Effects / Image Effect / Offset: -205 / 0 / Custom e Transparent marcados 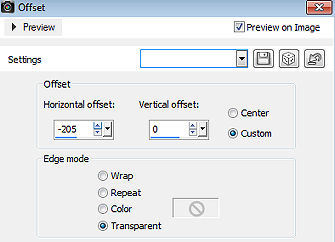
Effects / 3D Effect / Drop Shadow: 3 / 3 / 30 / 5 / Cor #314f1f Layers / Merge All / Flatten Effects / Reflection Effect / Rotating Mirror: 0 / 180 / Reflect 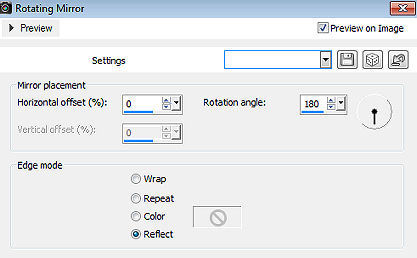
Selections / Select All Effect / 3D Effect / Cutout: 0 / 0 /100 / 60 - Cor 1 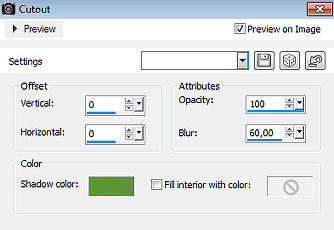
Selections / Select none Etapa 6 Image / Add borders / symmetric: 2 pixels na cor branca Image / Add borders / symmetric desmarcado: Top / Left e Right 60 / Bottom 150 / cor 1 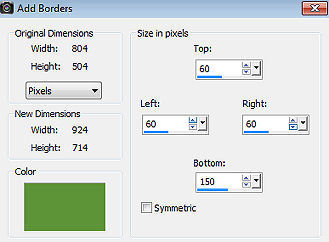
Selecione essa borda com a varinha mágica, Tolerance e Feather 0 / Inside marcado Pinte a seleção com o gradiente Style Linear / Angle 130 / Repeats 2 e formado pelas cores 1 e 2 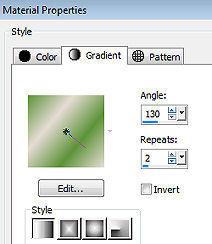
Etapa 7 Selections / Promote selection to layer Effects / Plugins / Render / Stones (scaled, fore-/background) Importe esse plugin pelo unlimited 2.0 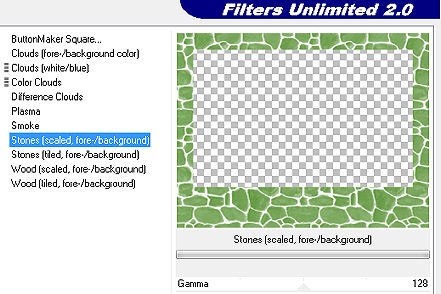
Baixe a opacidade da layer para 17 Layer / Merge / Merge down Effect / 3D effect / Inner bevel 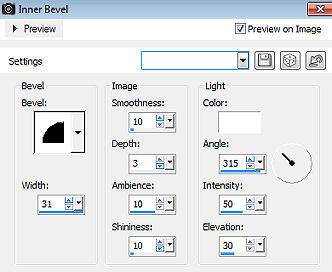
Selections / Select none Etapa 8 Copie e cole como nova layer o deco tube 2 (deco_gwladys2_animabelle) Não mova, está no lugar certo Effect / 3D Effect / Drop Shadow: 3 / 3 / 30 / 5 / Cor #314f1f Etapa 9 Copie e cole o tube pricipal (Aqui foi usado o tube 15_enfant_p2_animabelle.png) Effect / Alien Skin / Eye Candy 5 - Impact / Perspective Shadow  Mova o tube como no modelo final (parte central e abaixo) Etapa 10 Copie e cole o tube ddas tulipas Mova para a base à esquerda, como no modelo final Copie e cole como nova layer o tube (gwladys_prenom_animabelle) Effect / Image Effect / Offset: 0 / 210 / Custom e Transparent marcados 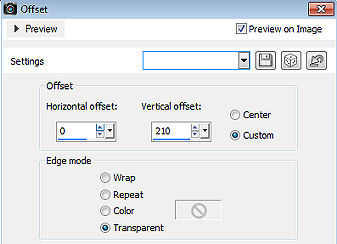
Effects / 3D effect / Inner bevel 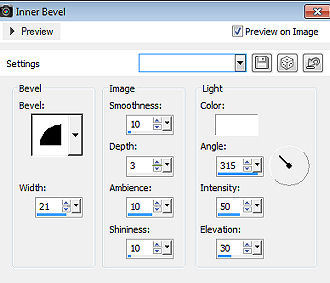
Effect / 3D Effect / Drop Shadow: -26 / 13 / 15 / 5 / Cor #314f1f Etapa 11 Layers / Merge All / Flatten Selections / Select All Effects / 3D Effect / Cutout / na última configuração usada Selections / select none Image / Add borders / symmetric / 2 pixels na cor branca Assine e exporte como JPEG Optimizer ou como Png. http://animabelle.free.fr/Tutoriels_Animabelle/page3/gwladys/gwladys.htm |  |
|


