| White Tree 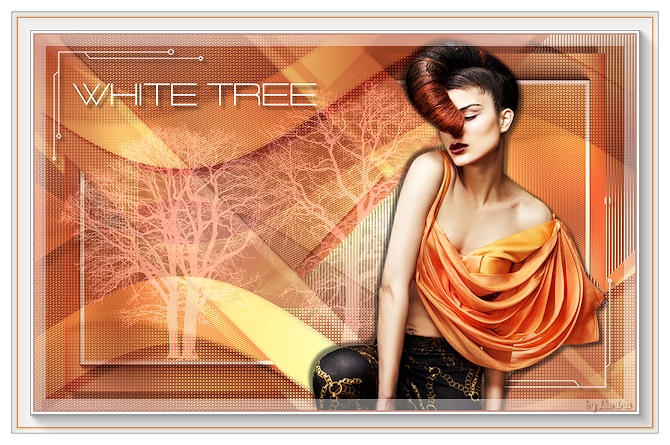
Obrigada Maantje por autorizar a tradução  Material Aqui Agradecimento aos criadores do material usado Tube Betsie masks OBG / @nn Seleções: "SelectionsMDesignWhiteTree" Brushe "@ nn_2009_brush_boom_001_tdstudio" Plugins Eye Candy 5 Impact / perspective shadow - Drop Shadow, Low AP 01 (Innovations) / Lines_SilverLining FM Tile Tools / Blend Emboss AAA Frames / Photo Frame Tramages / Tow The Line Graphic Plus / Cross Shadow Coloque as seleções na pasta "Selections" do Psp Exporte o brush: File Export / Custom brush Se usar tubes e cores diferentes é possivel ir alterando o blend mode e a opacidade da layer, por que pode ocorrer diferença no efeito final Escolha 4 cores de seus tubes Aqui foram usadas as seguintes cores 
#fde9c1 / #e28750 / #a64731 / #ffffff Coloque no Foreground a cor 1 e no Background a cor 2 No foreground forme o gradiente: Style Radial / Angle 50 - Repet 0 / Invert desmarcado 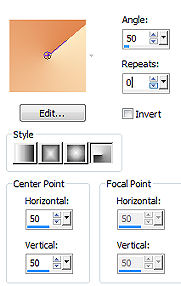
Abra uma imagem de 800 x 500 pixels, transparente Pinte a layer com o gradiente Adjust / Blur / Gaussian Blur / 20 Layers / New raster layer Selections / Select all Abra o tube Betsie 10-2012 ou outro de sua escolha Edit / Copy - Edit / Paste into selection Selections / Select none Effects / Image Effects / Seamless Tiling / Settings em Default Adjust / Blur / Gaussian blur / 45 Layers / Duplicate Image / Flip Layers / merge / merge down Mude o blend mode para Lighteen Layers / New raster layer Pinte a layer com a cor 3 Abra a mask "OBG_MASK_208" e minimize no Psp Layers / New mask layer / From image Aplique a mask "OBG_MASK_208", com "Invert mask data" marcado 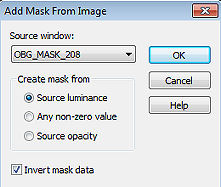
Layers / Merge / Merge group Adjust / Sharpness / Sharpen Ative a layer abaixo (Raster 2) Selections / Load/save selection / Load selection from disk Aplique a seleção "SelectionsMDesignWhiteTree" 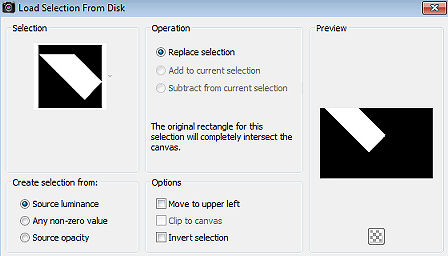
Selections / Promote Selection to Layer Effects / Plugins / Eye Candy 5: Impact / Perspective Shadow Aplique o Setting: Drop Shadow, Low Effects / 3D effects / Drop shadow: 10 / 10 / 50 / 10 - preto Selections / Select none Effects / Plugins / AP 01 (Innovations) / Lines_SilverLining: 6 / -1 / 10 / 0 / 0 / 0 / Dotty Line 
Effects / Plugins / FM Tile Tools / Blend Emboss Ative a Raster 2 Selections / Load/save selection / Load selection from disk Aplique a seleção "SelectionsMDesignWhiteTree 1" 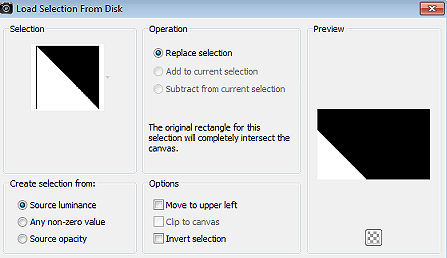
Selections / Promote Selection to Layer Effects / Plugins / Eye Candy 5 Impact / Perspective Shadow Aplique novamente o Setting: Drop Shadow, Low Effects / Plugins / AP 01 (Innovations) / Lines_SilverLining: 6 / -1 / 10 / 0 / 0 / 0 / Dotty Line Effects / Plugins / FM Tile Tools / Blend Emboss Effects / 3D Effects / Drop Shadow: 10 / 10 / 50 / 5 - preto Selections / Promote selection to layer Selections / Select none Image / Resize 90%, resize all layers desmarcado Effects / Plugins / AAA Frames / Foto Frame: 60 / 0 / 0 / 5 / 0 / 0 / 0 / 100 
Effects / 3D Effects / Drop Shadow: 10 / 10 / 50 / 5 - preto Layers / Duplicate Image / Mirror Image / Flip Ative a Raster 2 Selections / Load/save selection Load selection from disk aplique a seleção "SelectionsMDesignWhiteTree 2" 
Selections / Promote Selection to Layer Effects / Plugins /Tramages / Tow The Line (Default) Effects / Plugins / FM Tile Tools / Blend Emboss Effects / 3D Effects / Drop Shadow: 10 / 10 / 50 / 5 - preto Repita com -10 / -10 / 50 / 5 - preto Selections / Select none Ative a layer do topo (Group - Raster 3) Layers / New raster layer Pinte com a cor 1 Abra a mask "@ nn_140712_mask_123_tdstudio" - minimize no Psp Layers / New mask layer / From image Aplique a mask "@ nn_140712_mask_123_tdstudio" e desmarque a opção Invert mask data 
Layers / Merge / Merge group Effects / Plugins / Graphic Plus / Cross Shadow (Default) Effects / 3D Effects / Drop Shadow: 10 / 10 / 50 / 5 - preto Mude o blend mode da layer para Overlay Layers / New raster layer Ative a ferramenta Paintbrush, localize o brushe "@ nn_2009_brush_boom_001_tdstudio" / Size 608 Com a cor 4, clique uma vez no centro da imagem Effects / 3D Effects / Drop Shadow: 10 / 10 / 50 / 5 - preto Mude o blend mode para Luminance (Legacy) Baixe a opacidade para 50 Mova ligeiramente para a esquerda (veja imagem final) Abra o Deco Lines Edit / Copy - Edit / Paste as a new layer na imagem Não mova Abra o tube texto WAMDesignWhitetree Edit / Copy - Edit / Paste as a new layer na imagem Posicione à esquerda na parte superior (ver modelo final) Abra o tube Betsie 10-2012 ou o de sua escolha Edit / Copy - Edit / Paste as a new layer na imagem O Tube Betsie não precisa de resize, se usar outro tube talvez seja necessário ajustar o tamanho Effects / 3D effects / Drop shadow: 5 / 5 / 50 / 5 - preto Repita com -5 / -5 / 50 / 5 Posicione o tube à direita, na imagem, como no modelo final Ative a Group - Raster 3 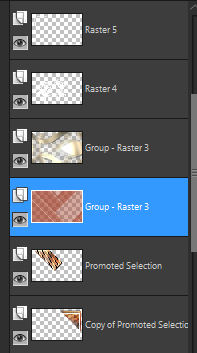
Baixe a opacidade dessa layer para 80 Image / Add borders / symmetric: 2 pixels na cor 3 20 pixels na cor 4 2 pixels na cor 2 2 pixels na cor 1 20 pixels na cor 4 Selections / Select all Selections / Modify / Contract / 15 Effects / Plugins / AAA Frames / Foto Frame: 25 / 0 / 0 / 20 / 0 / 0 / 0 / 40 
Selections / Select none Assine Layers / Merge / Merge all layers Salve como Jpeg https://maantje-psp-design.jouwweb.nl/white-tree |  |
|


